Create Quick Particle Effect on Photo via Custom Brush Options in Photoshop
Posted on July 18th, 2011 under Photo Effect
Along the way, I combine this particle creation technique into this tutorial, along with some other photo manipulation techniques, such as image adjustment, painting, and lighting. The primary focus of this tutorial would be the particle effect, which you can use in a wide range of occasions to add some spice into your image.
For your next business card printing press run, put your best foot forward with carefully thought out design work.
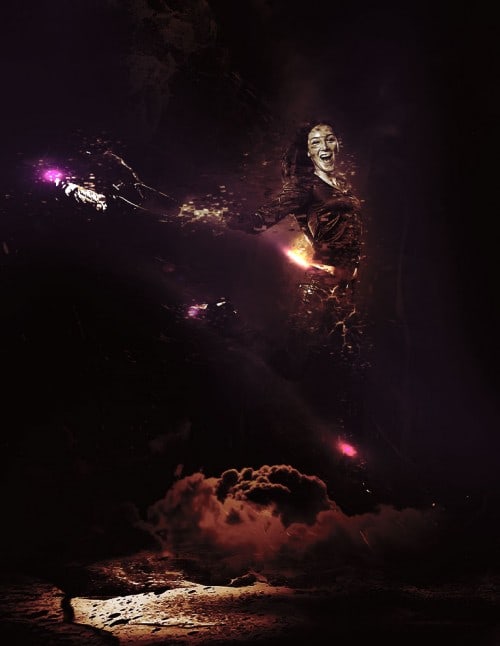
Here is a preview of the final effect I have for this tutorial: (click to enlarge)
PSD File Download
You can download the PSD File for this tutorial via the VIP Members Area for only $6.95/Month (or less)! You will not only get this PSD File, but also 70+ other PSD Files + Extra Goodies + Exclusive Photoshop tutorials there. Signup now and get exclusive :) Find out more about the VIP Members Areas
OK Let’s get started!
To complete this tutorial, you will need the following stock: (registration required for those images)
Model
Crack
Cloud
Step 1
Create a new document (size doesn’t matter here) with black background. Let’s paint some background and get it ready for adding the model image later: (I used the crack brush to paint some pattern around the canvas, as shown below)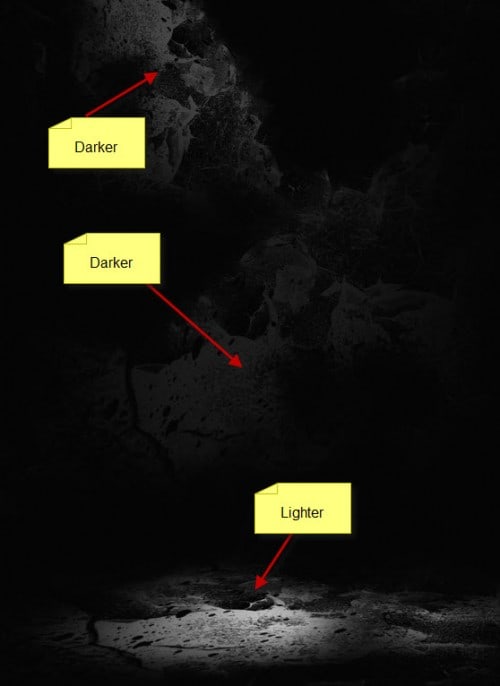
Then create a new layer and paint some cloud texture around the canvas, with the cloud brushes you downloaded:
Hint: use low opacity and flow settings on those cloud brushes, this way you won’t be over-painting the cloud. Use a soft eraser tool to remove the cloud edges as you paint, so they fade into the background.

Step 2
Load the model image into Photoshop, cut out the model and paste it onto our document, resize and position it as shown below: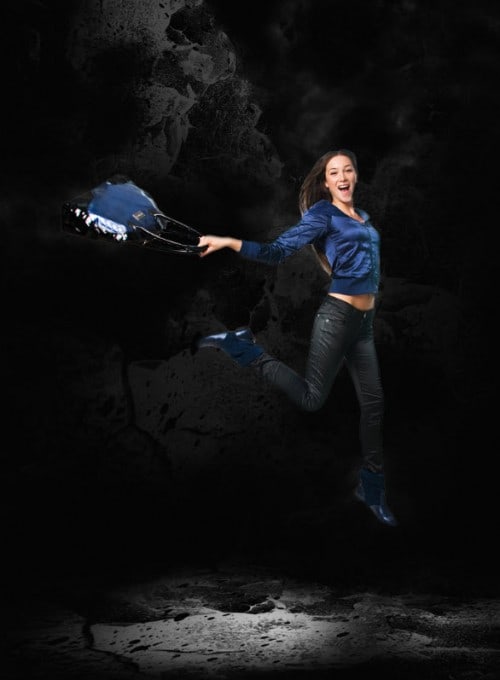
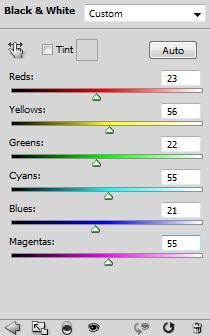
Apply the following 3 adjustment layers as clipping mask to the image:
Black and White (set layer opacity to around 95%)
Levels
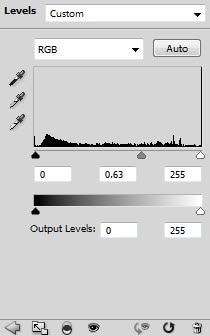
Curves
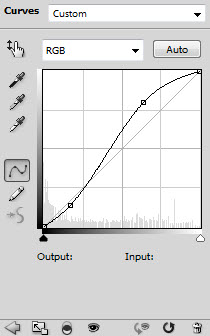
and you will have the following effect:

We can add some lighting effect around the model – create a new layer under the model layer and paint a light source with a big soft white brush:

Warp this layer with the warp tool:
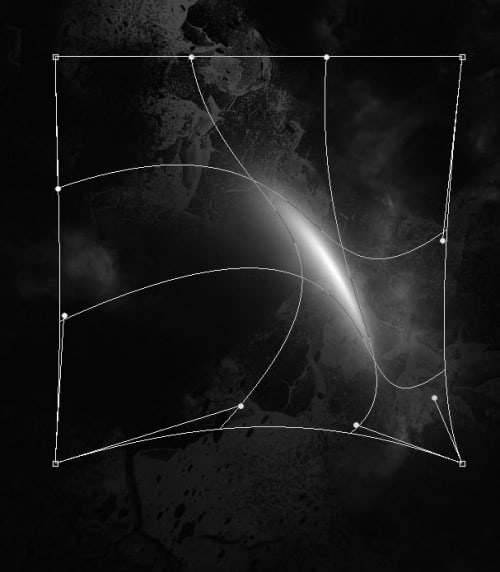
Then duplicate this layer a few times, attach them to the model as shown below:

Step 3
Now let’s get the fun part of this tutorial – making the particle effect. Firstly, create a new document shaped a small rectangle, create a new layer and fill it with black colour:
Go to Edit > Define Brush Preset and define a new brush, apply the following brush options:
Shape Dynamics

Scattering

Other Dynamics
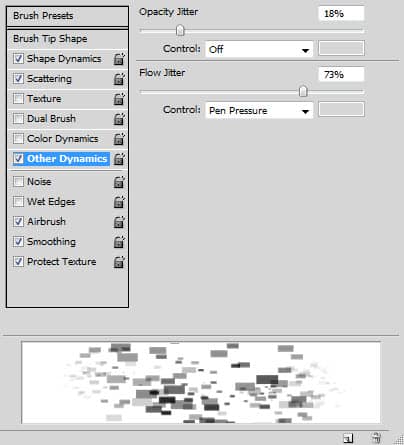
Tick the Airbrush, Smoothing and Protect Texture option.
For tutorial purpose, I made a new document with black background, and used this new brush to paint on it:

Then I used the eraser tool with the same brush selected, but with a slightly smaller brush size, erase some part of the paint. You will have the following effect:
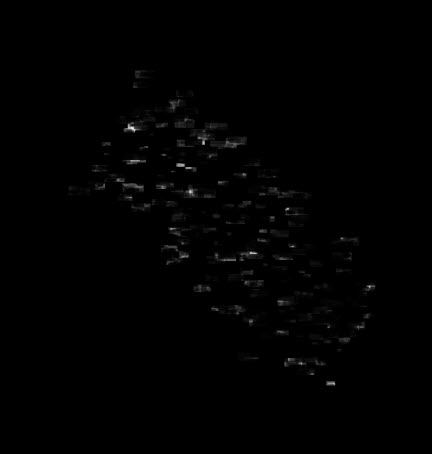
Now as you can see, I added those particles around the model:
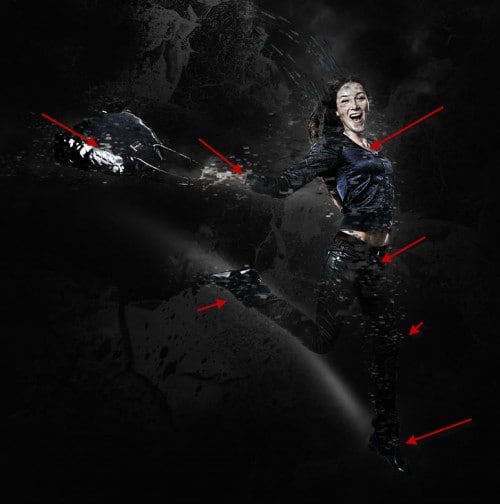
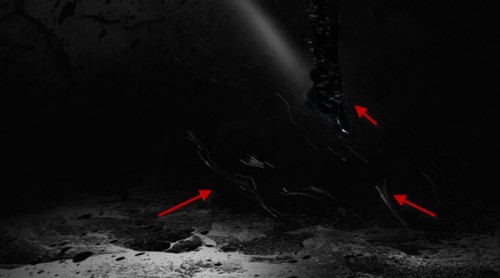
You can also apply the liquify filter on the particle to create some kind of flowing effect:

and I added some flowing effect to the feet area as shown below:
Step 4
Now just before we wrap up this tutorial, I would like to show you a way to add spot light effect. Firstly you need to add some colours onto the image – you can use image adjustment layers (color balance, selective colour, etc) to add colours, or simply just paint on a new layer (set layer blending mode to “color”).The choice of colour is totally up to you. I went for a fiery/burnt colour here:

After you added the colours, create a new layer and fill it with black colour, then apply the following Lens Flare settings on this new layer:
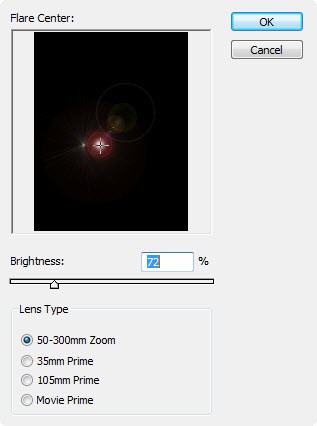
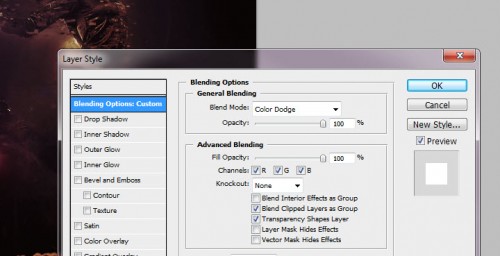
Change the layer blending mode to “color dodge”, you will see the black background disappear:
Use the Free Transform to adjust the light shape a bit:

Until it form some sort of trailing/shining line effect:
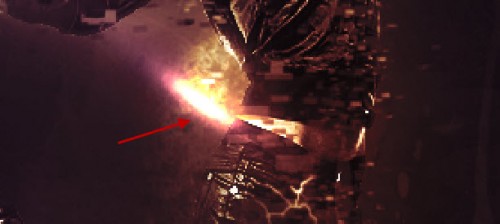
You can duplicate this lens flare layer a few times and scatter then around the image, and here is the final effect I have for this tutorial: (click to enlarge)

That’s it for this Photoshop tutorial! I hope you enjoy this and find it useful and inspirational. Till next time, have a great day!


No comments:
Post a Comment