http://cs5tutorial.net/create-a-vector-based-zune-with-photoshop/
Create a new document that is 400x600px. Set your foreground color to a nice light blue (#b5efff) and your background color to a darker blue (#00bef3). Grab your Gradient Tool and drag a radial gradient starting at the top right corner and ending at the bottom left corner of the document.
 Make a selection about 125px high starting at the bottom of your document using the Rectangle Marquee Tool. Set your foreground color to white and create a Foreground to Transparent gradient starting at the top of the selection running to the bottom. Then set the layer blending mode to Soft Light.

 Duplicate your rounded rectangle by right clicking on it and selecting Duplicate Layer. Change the color of the rectangle to #1e1e1e by double clicking the color thumbnail in the layer. Enter free transform by going to Edit > Free Transform. Then drag the top, left, and right sides about 10px into the body (each done separately). Now drag the bottom side a good 120px up from the bottom and complete your transform.
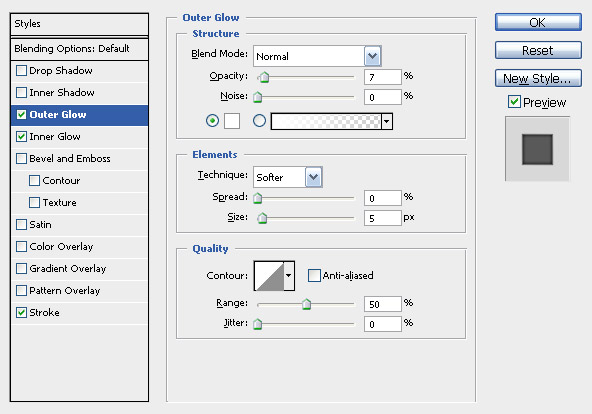
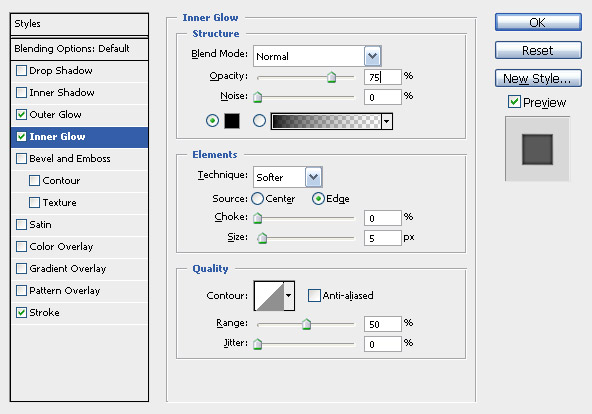
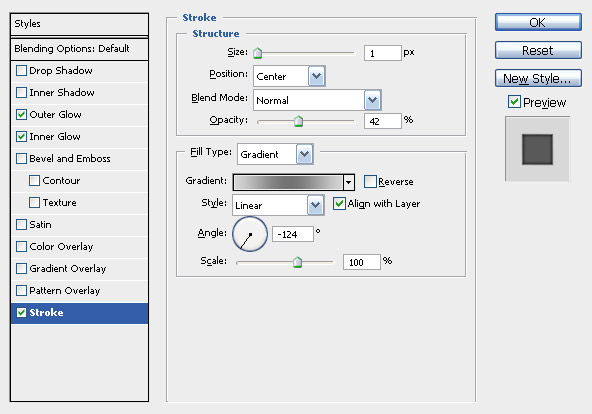
 Then apply the following layer styles:

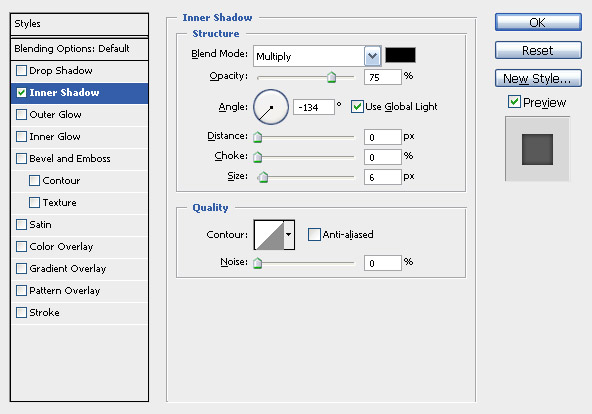
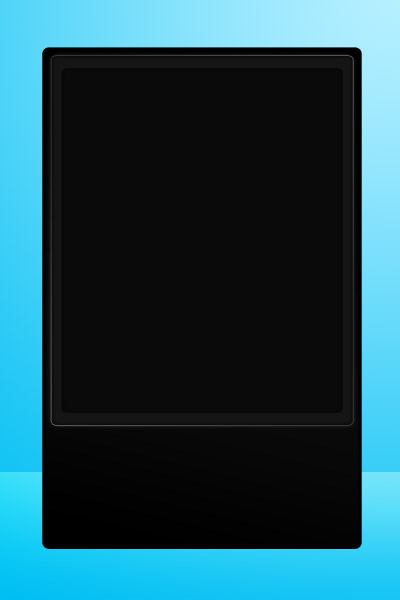
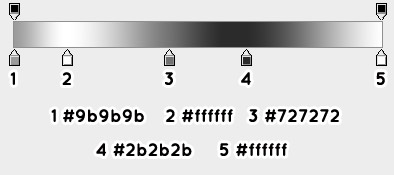
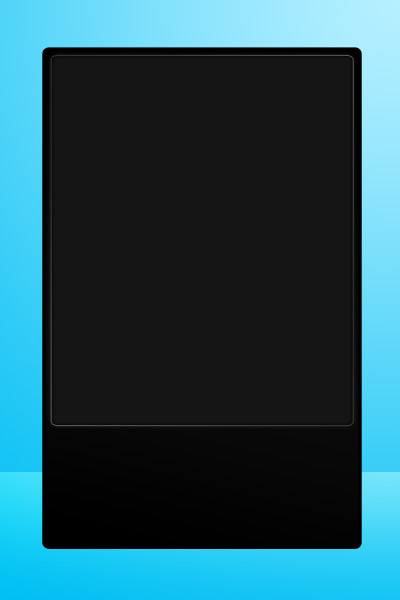 Duplicate your newest rectangle. Go to free transform, and while holding alt+shift, drag the one of the corners inward. Drag it so it is about 10-15px smaller than the previous rectangle. Holding alt makes the transform go to the center of the object and holding shift makes the object maintain its proportions. Change the color to #0f0f0f. Then apply the following Inner Shadow.

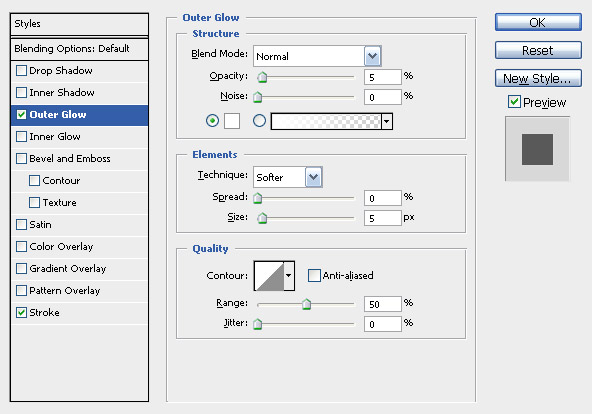
Set your foreground to black and grab the Rounded Rectangle Tool with a radius of 30-40px. While holding shift, drag a rounded rectangle onto the Zune until it appears to be the correct size. Place it in the horizontal center at the bottom of the pad, but make sure it is closer to the screen than it is to the bottom of the Zune, since it is like that on the real thing. Then apply the following Outer Glow.

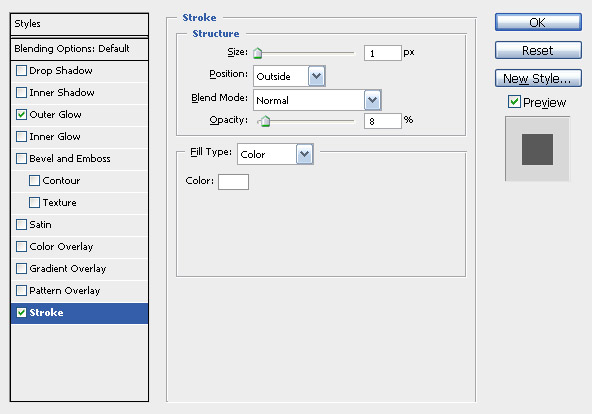
 Duplicate your previous rectangle. Right click the layer and select Clear Layer Style, which will remove the out glow. Change the color to #070707. Then start a transform on it and hold alt+shift and make it about 2px smaller.
 Now apply the following layer styles:

 Duplicate your latest rectangle and clear the layer styles like we did before. Change the color to black and make it about 2px smaller.
 Once again, duplicate your latest rectangle and clear the layer styles. Make it 2px smaller just like we did before. Then apply the following layer styles:


Create a new layer group by clicking the folder icon at the bottom of the layers panel. Grab the Ellipse Tool underneath the rectangle tool. While holding shift, drag a new circle onto the Zune for the arrow button. Place it to the left of the pad and apply the following layer styles:
 Duplicate your previous layer and clear the layer styles. Make it 2-3px smaller and apply the following layer styles:


 Now that we have the actual button made, lets duplicate it for the other side. Right click your group and select Duplicate Group. Then, while holding shift, drag it to the right side of the pad. Holding shift makes it move in a straight line.

Grab your Pen Tool and create an arrow like the one shown below.
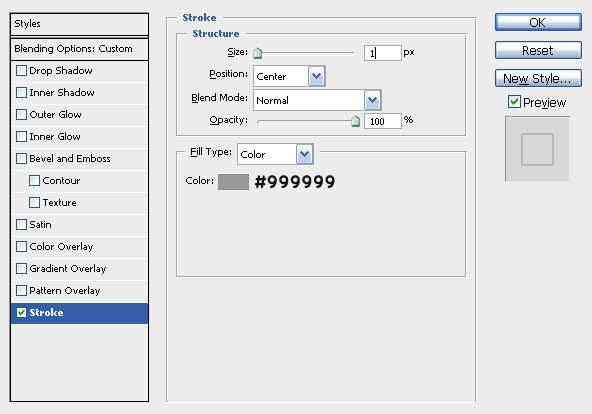
 Set the fill of the layer to 0% and then add a Stroke. The fill of the layer will change the opacity of the actual pixels in the layer while leaving any layer effects applied to it alone.
 Repeat the process for the right button using a triangle and two rectangles.
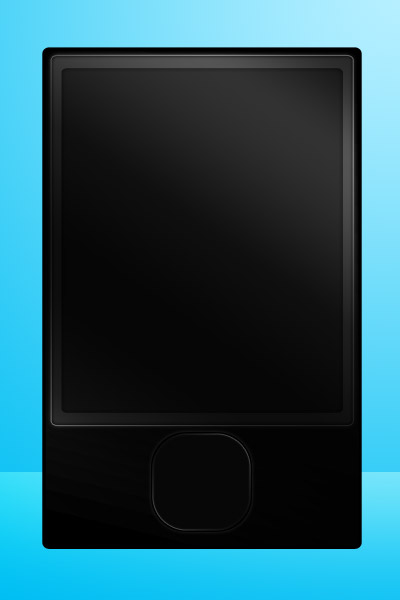
Step 1: Creating the Background
Since our Zune is going to be a nice sleek back, let’s setup a light blue background that will compliment the black.Create a new document that is 400x600px. Set your foreground color to a nice light blue (#b5efff) and your background color to a darker blue (#00bef3). Grab your Gradient Tool and drag a radial gradient starting at the top right corner and ending at the bottom left corner of the document.
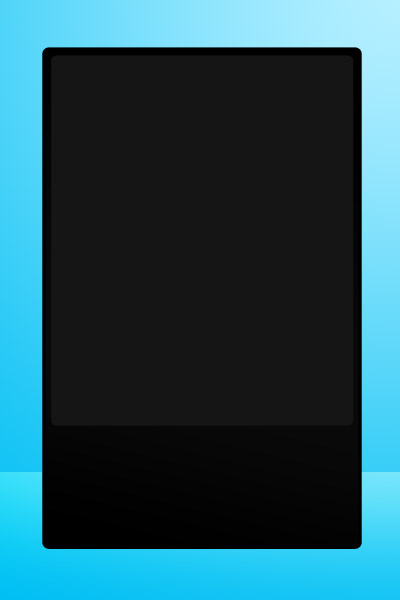
Step 2: Creating the Body of the Zune
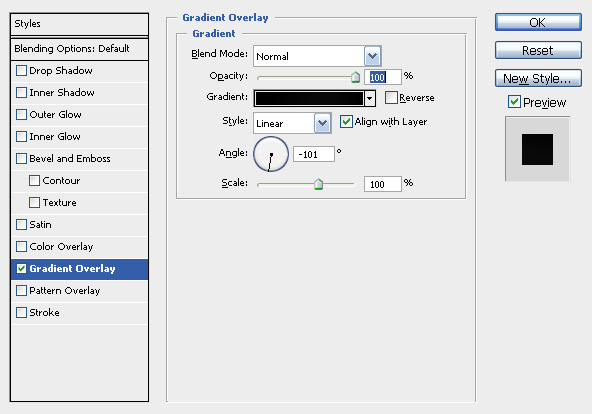
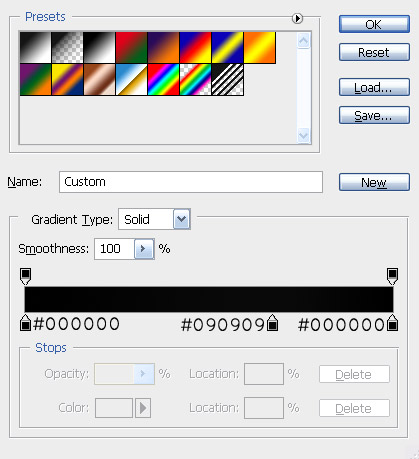
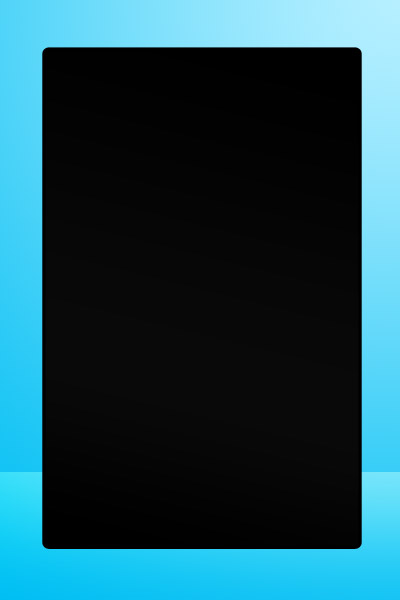
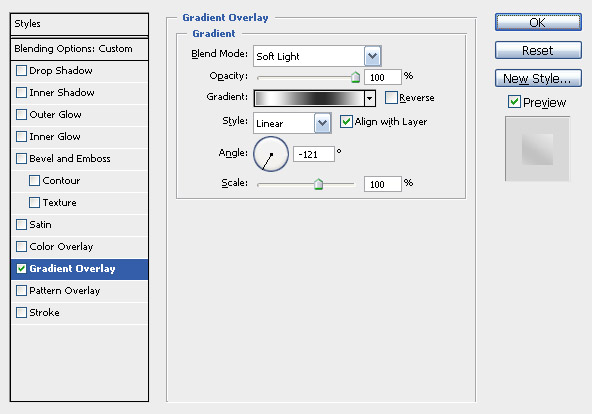
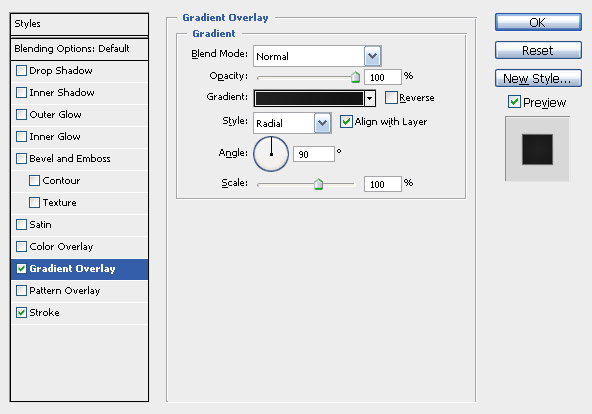
Set your foreground color to black. Grab your Rounded Rectangle Tool which is located underneath the rectangle tool. When a shape is made with the rounded rectangle tool, it is made with a path. The path around the object is what makes the shape a vector. Set the Radius of your tool to 7px and then draw a rectangle that nearly covers your canvas. Then apply the following Gradient Overlay.Outer Glow
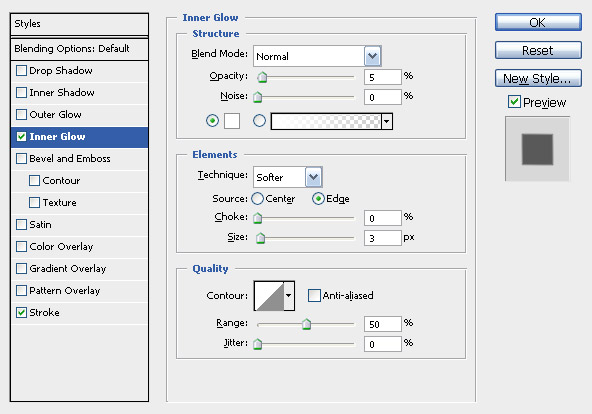
Inner Glow
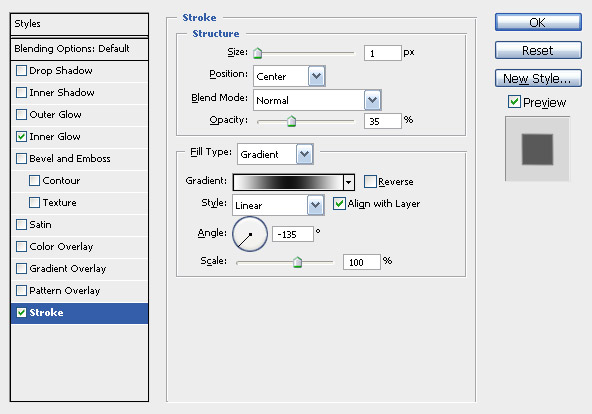
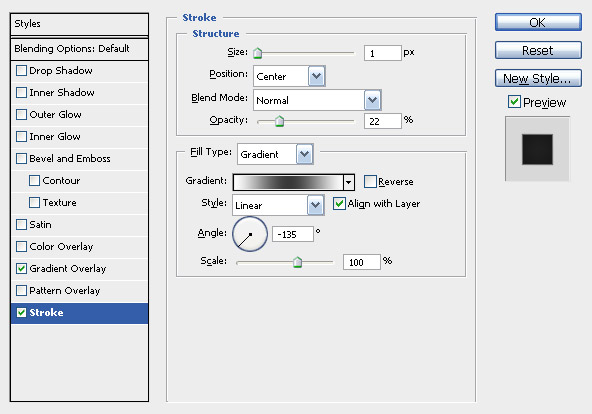
Stroke
Step 3: Adding Highlights to the Body
Since we want our Zune to have a shiny more reflective appearance, like a real one, we are going to add a nice highlight layer. Duplicate your bottom most rectangle, this should be your largest one. Drag it above all of your layers and set the Fill of the layer to 0%.Step 4: Creating the Pad
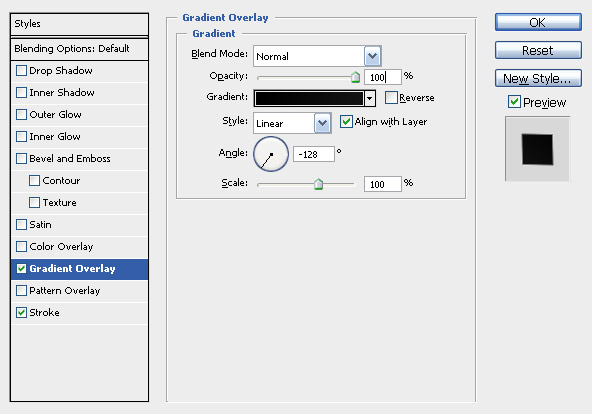
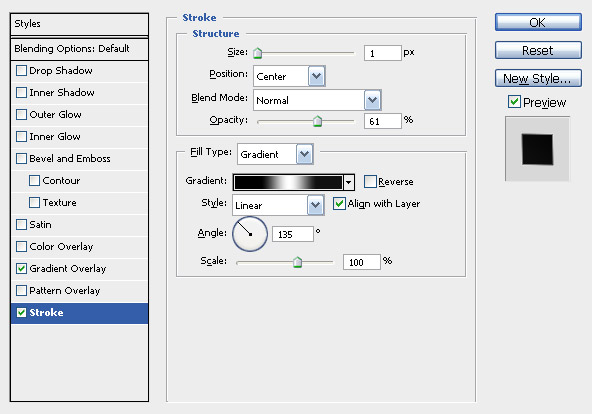
Alright, we now have the main body of our Zune complete! The only problem now is that it doesn’t have any buttons on it. We need to add the touch sensitive pad and the buttons that fall on each side.Set your foreground to black and grab the Rounded Rectangle Tool with a radius of 30-40px. While holding shift, drag a rounded rectangle onto the Zune until it appears to be the correct size. Place it in the horizontal center at the bottom of the pad, but make sure it is closer to the screen than it is to the bottom of the Zune, since it is like that on the real thing. Then apply the following Outer Glow.
Inner Glow
Stroke
Gradient Overlay
Stroke
Step 5: Creating the Circular Buttons
Only two buttons to go before we have our Zune!Create a new layer group by clicking the folder icon at the bottom of the layers panel. Grab the Ellipse Tool underneath the rectangle tool. While holding shift, drag a new circle onto the Zune for the arrow button. Place it to the left of the pad and apply the following layer styles:
Outer Glow
Stroke
Gradient Overlay
Stroke
Step 6: Creating the Icons for the Buttons
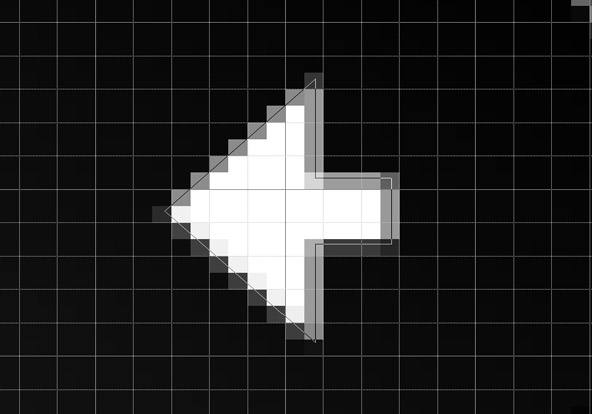
Now that we have out buttons, we need to create some icons for them. Turn your grid on by going to View > Show > Grid You can change the options for your grid by going to Edit > Preferences > Guids, Grids, & Slices.Grab your Pen Tool and create an arrow like the one shown below.
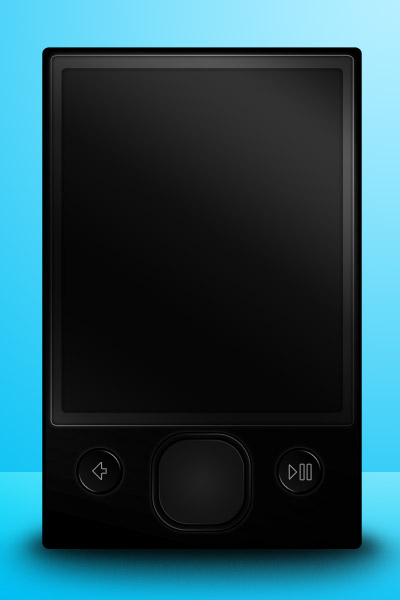
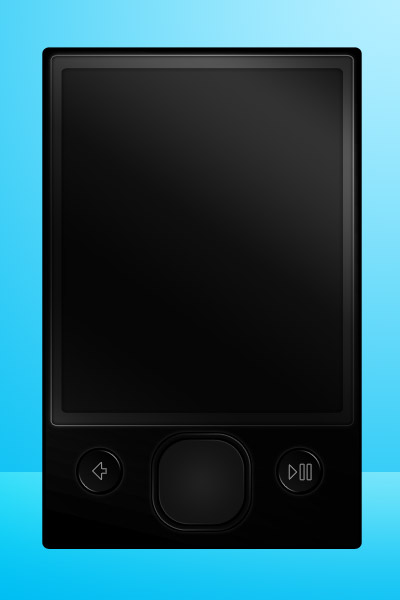
We Now Have a Vector Zune Graphic!
Place all of your Zune layers into a layer group. Re-size the group to be small and big so that you can see you won’t lose any quality due to the fact that everything is vectorized. Feel free to add a shadow under your final result by creating a new layer underneath your Zune and making a black oval with the Elliptical Marquee Tool and applying a Gaussian Blur.
No comments:
Post a Comment