Step 1: Create a new document
Create a new document in Photoshop and fill it with white. Create a new layer and use the Pen Tool (P) to create the shape of the envelope. Then press Command + Enter to transform the path into a selection.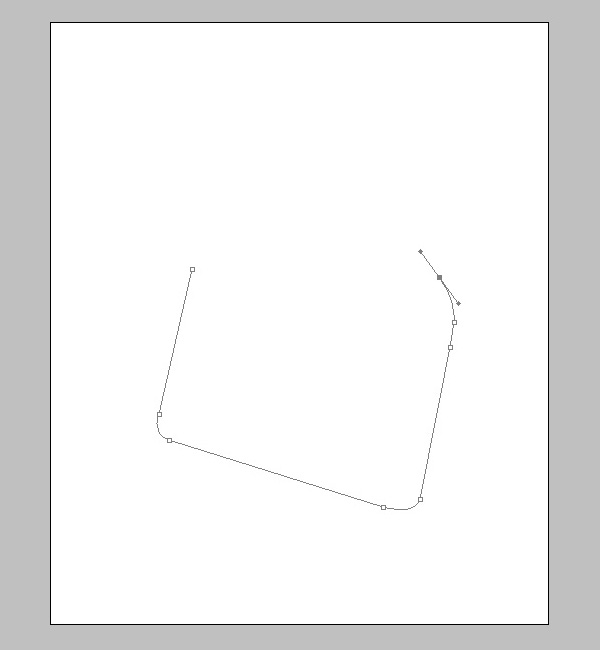
Step 2: Apply Color
Fill the selection with this color #80a5c0 using the Paint Bucket Tool (G).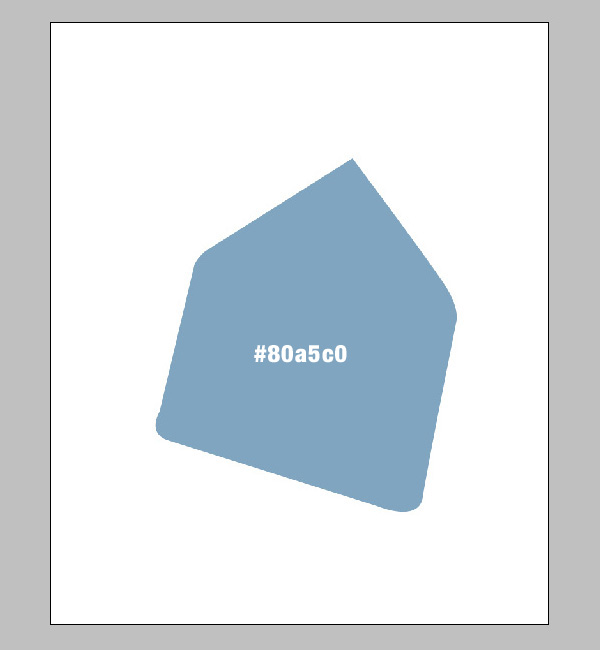
Step 3: Apply Gradient
Double click on the layer to activate the Blending Options and apply a Gradient Overlay like below.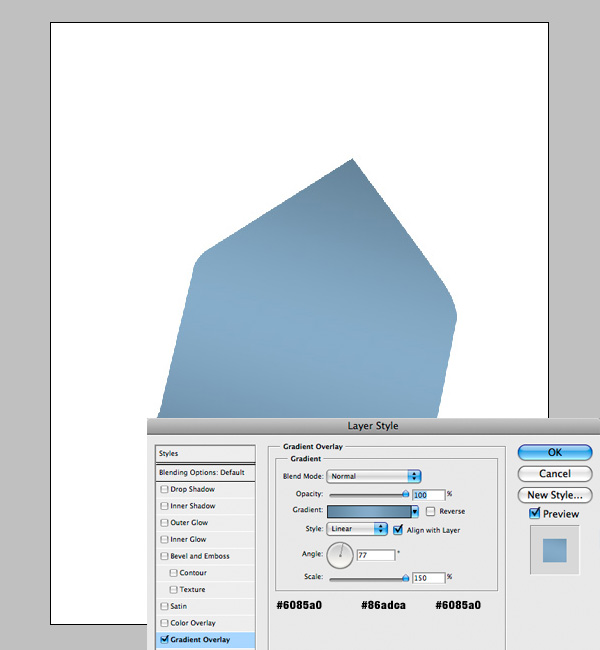
Step 4: Envelope interior
Now you need to create a new layer and create a new shape like below. Fill the shape with #738ea3.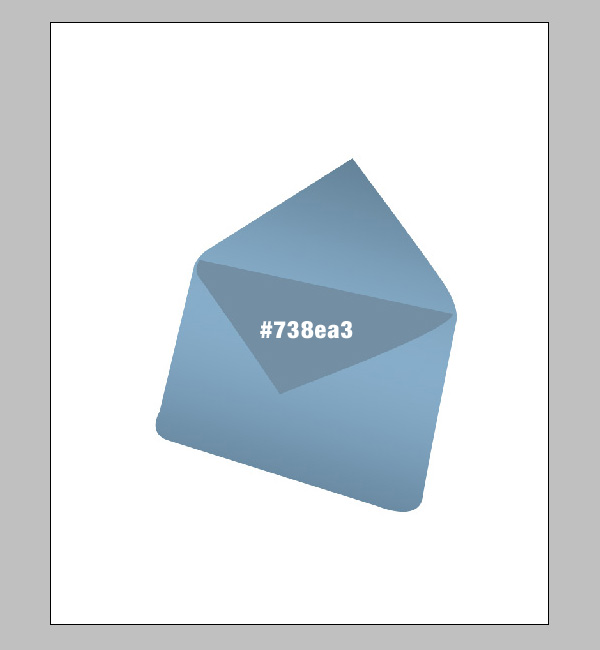
Step 5
Double click on the layer you have just created and apply an Inner Shadow, Gradient Overlay and a Stroke to the layer.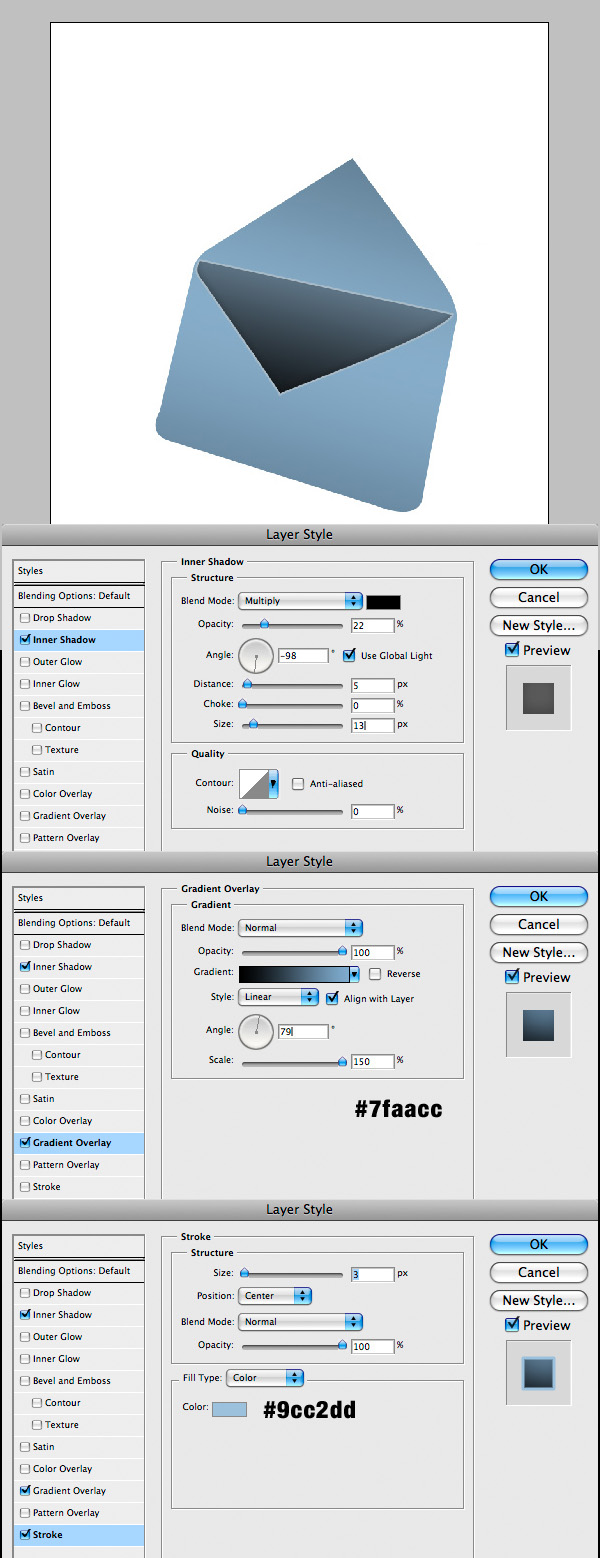
Step 6: Add Shadow
To add the shadow below the envelope you need to use the Elliptical Marquee Tool (M) and create a black shape like below. Then go to Filter Blur Gaussian Blur and use 3,8. This effect will make the envelope look like it is floating.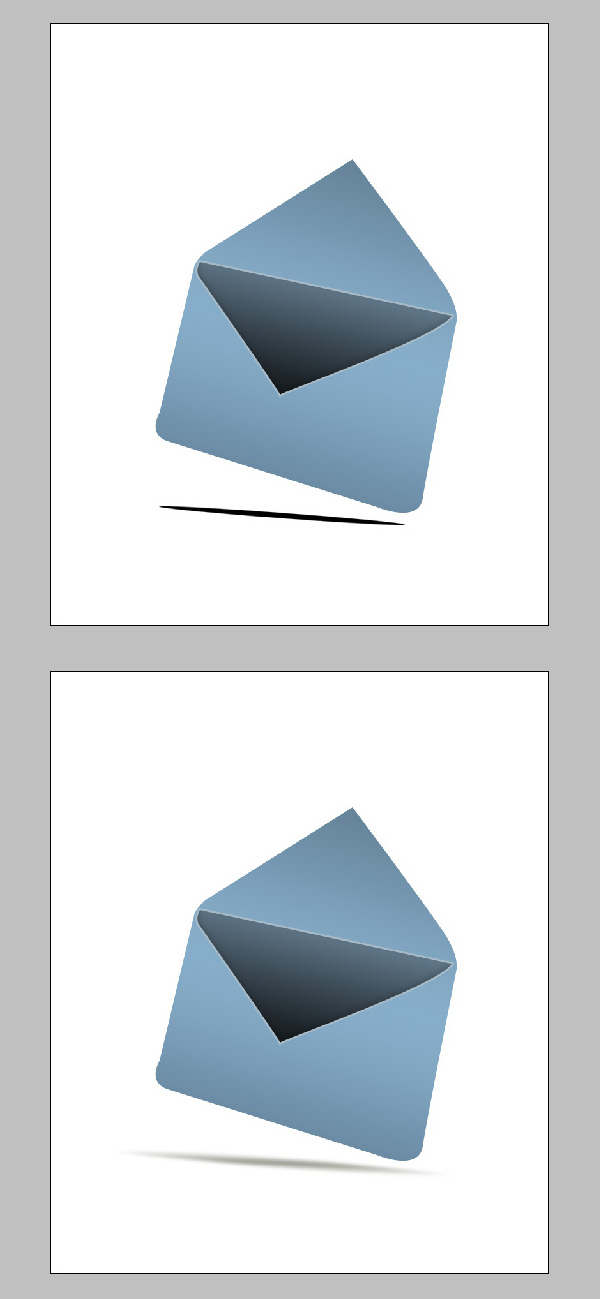
Step 7
Create another new layer and create a shape like below then fill it with #4b7c9d. Next double click on the layer and add a Gradient Overlay.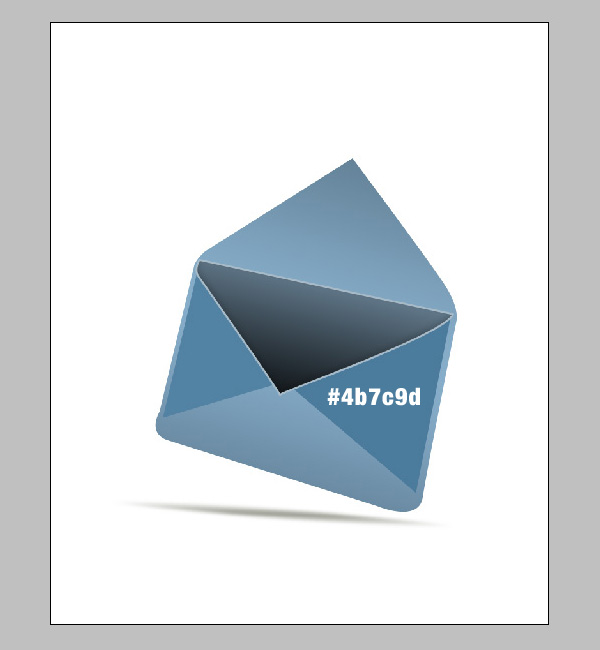

Step 8
Create the lower part of the envelope and add a Gradient Overlay like below.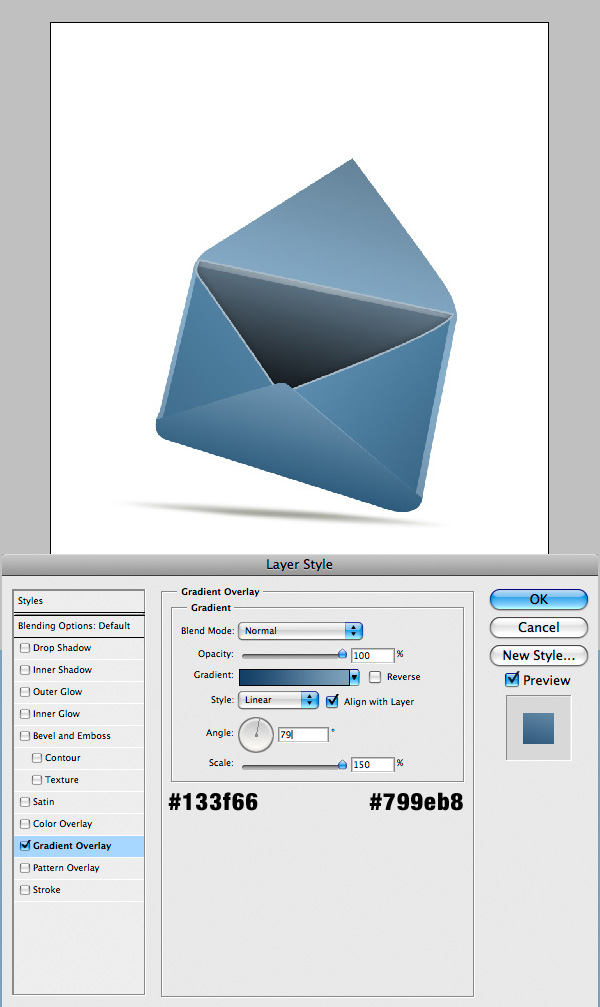
Step 9: Lines
Create a new layer for each line you create. You will create these lines using the Line Tool (U) set to white and different weights. Also you will change the Opacity of each as you wish.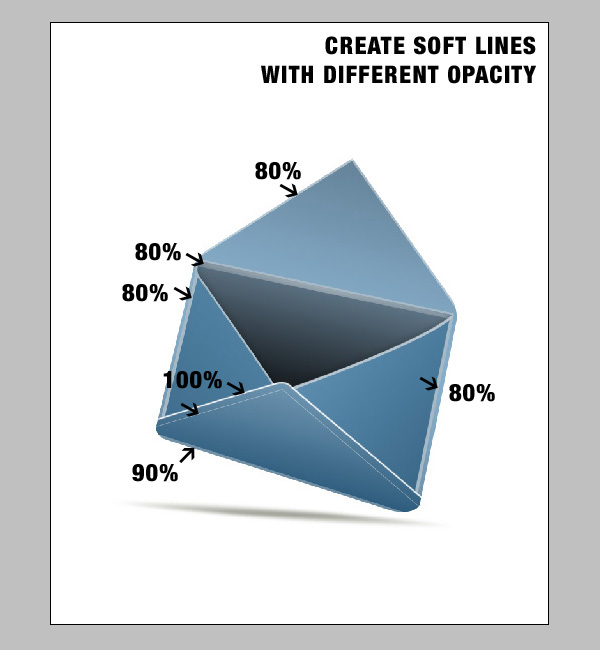
Step 10: Sticky strip
Start creating the sticky strip of the envelope. Create a new layer then use the Pen Tool (P) to create the shape below and fill the layer with white.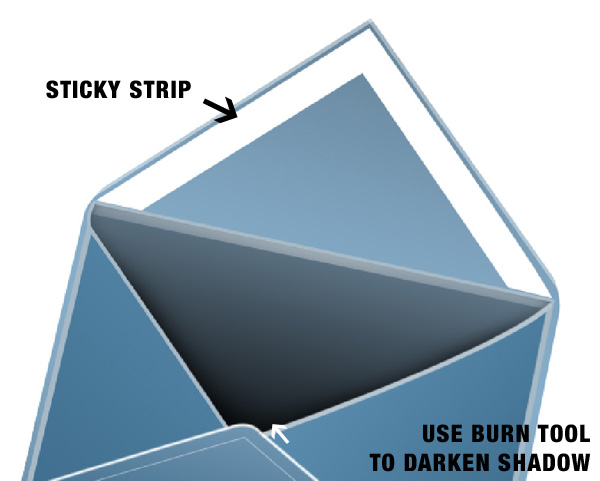
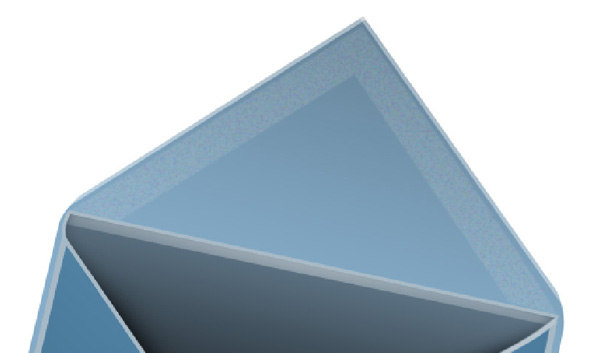
Step 11: Strip texture
To create the strip texture you need to make sure you have the white strip layer selected and go to Filter > Noise > Add Noise and set the Noise to 56,56; Uniform and deselect Monochromatic. In the end set the layer to Opacity 15%.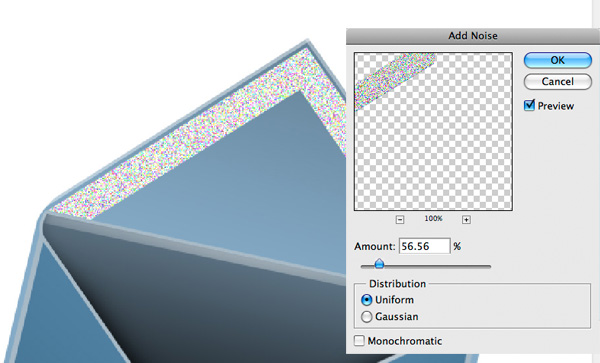
Step 12: Elements
Now it is time to add the elements inside the envelope. Start with a piece of paper. Create a new layer and place it over the envelope like below then create the shape using the Polygonal Lasso Tool (L) and fill it with white. You must create another layer above this shape and use a black brush to create the shadow that is going to be above the inside elements.
Step 13
Create another shape. This time use the Custom Shape Tool (U) and in the shape list search for the puzzle shape. When you find it place it onto the screen, use the Transform Tool to distort the element then add a simple gradient like below.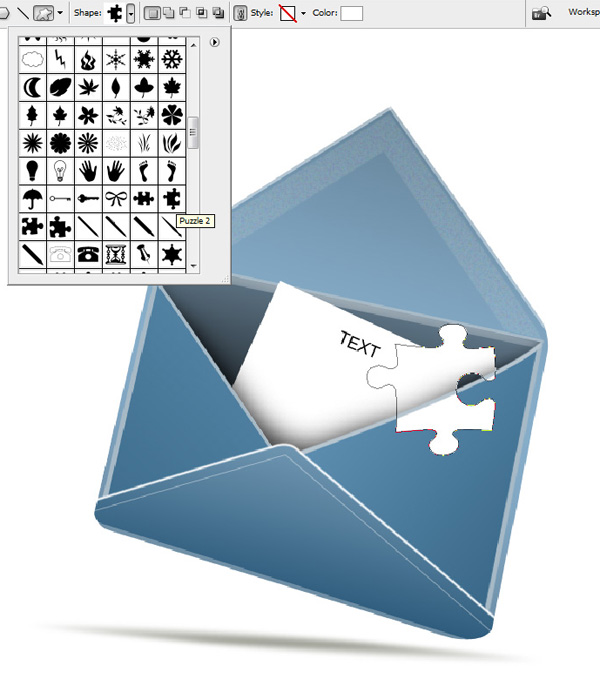

Step 14
Create another shape as you did in step 13 but this time select from the list the magnifying glass. Apply the shape and fill it with #2ea7fa. Also apply a smooth Gradient Overlay.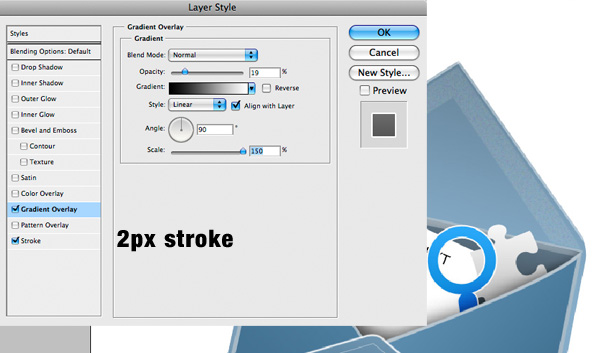
Step 15
Create a magnifying effect. Simply create a new layer and place it below the magnifying glass layer. The layer should be white with a soft grey gradient. Then add the text “text” and erase a part of it to make it look like it is magnified. Next you need to add a soft white gloss to make it look like a glass. In the end add the shadow by creating a new layer below all these and applying a soft black color. Then set the layer to 20% Opacity.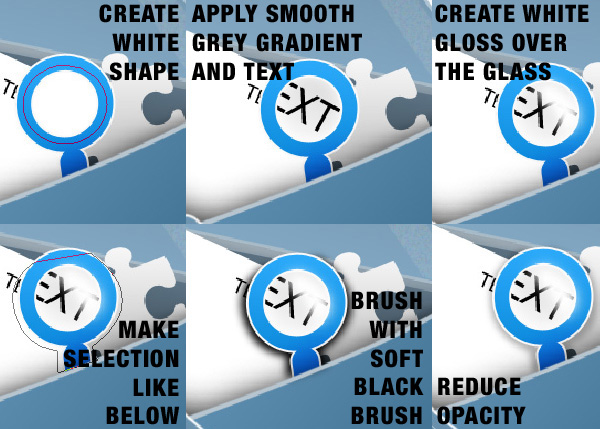
Step 16
Create a movie roll the same way as you did with the other elements.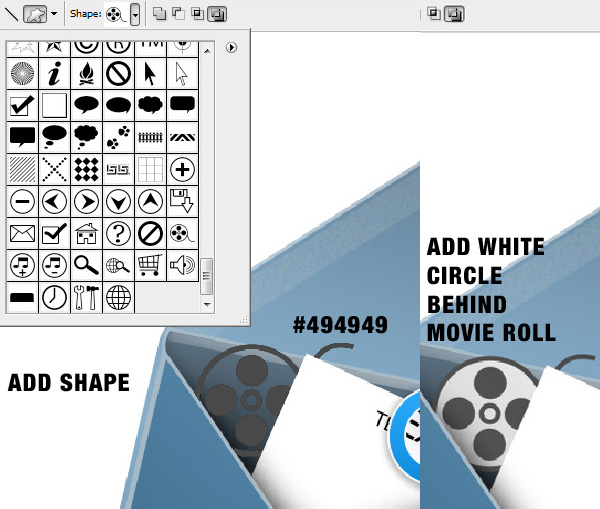
Step 17
The last element is a pen. Create this shape using this color #ff7000.
Step 18: Details
Now it is time to add details and gloss to the elements. Follow the steps below as you will be taken through each modification so you can create it as well.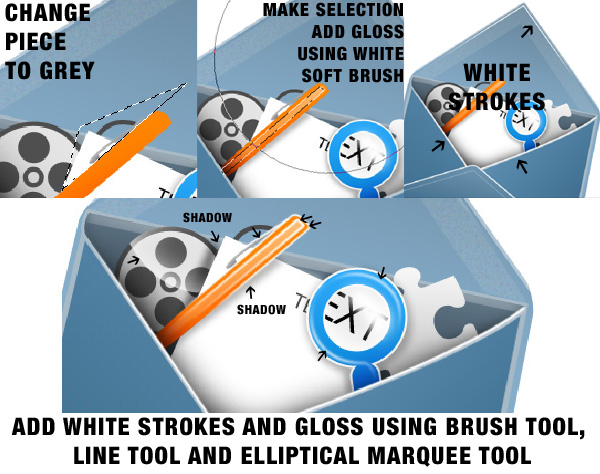
Step 19: Gloss
Next you need to add some gloss effect to the envelope. Use the Polygonal Lasso Tool (L) and create 4 triangles the use a soft white brush to bring in some gloss.
Step 20: Final Shadow
Create a path like below using the Pen Tool (P) then transform it into a selection and use a black soft brush to add the shadow.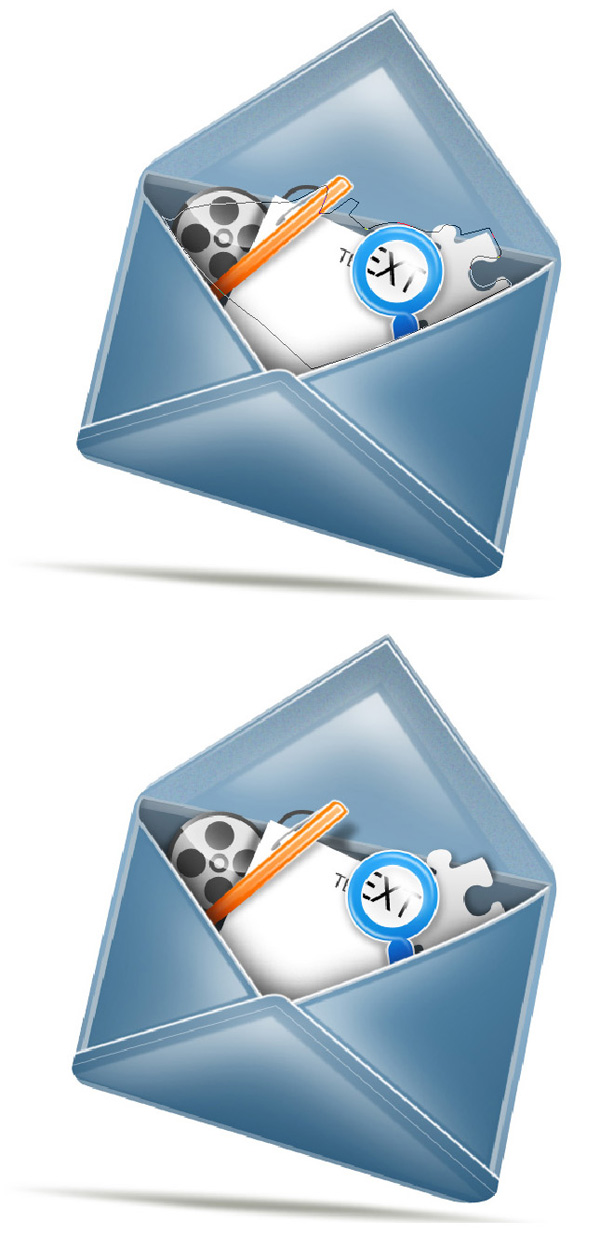
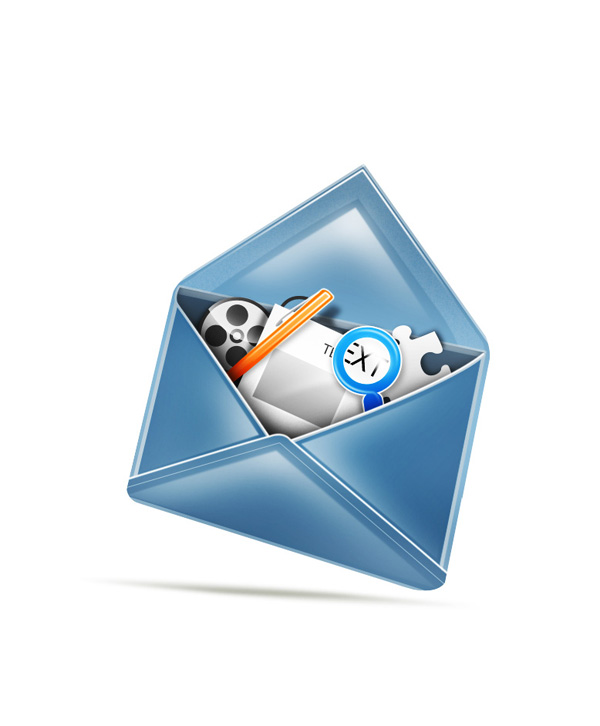
Step 21: Final Adjustment
In the end you need to darken everything a little and add more contrast. Press Command + A then copy Command + Shift + C and paste Command + V. Now that you have the image duplicated go to Image > Adjustments > Brightness/Contrast and increase the contrast a little.This little icon looks pretty good when it is used on your app. Use Icon Composer to create the icon then set it to your app using Candy Bar.
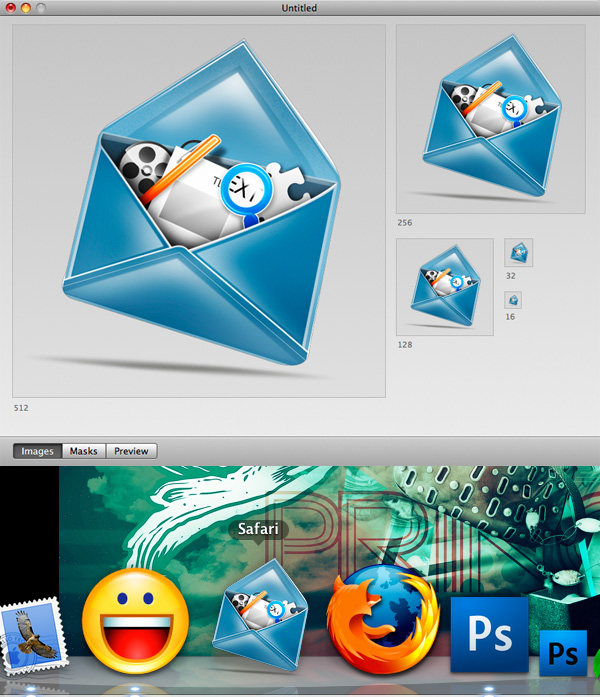
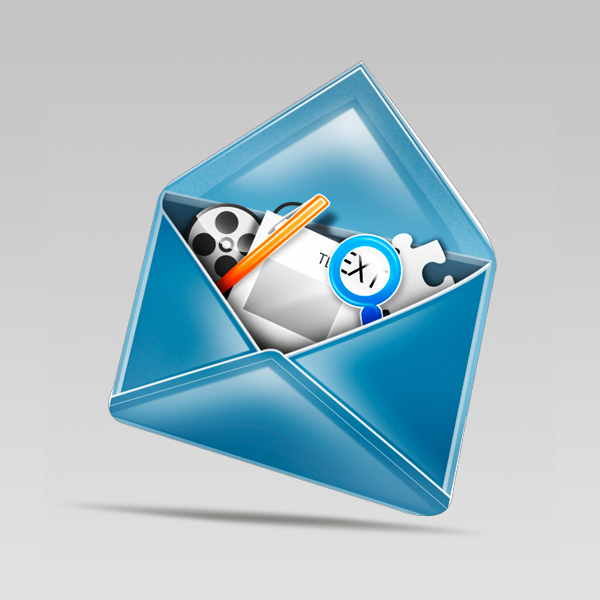
Final Result
No comments:
Post a Comment