http://cs5tutorial.net/photoshop-tutorial-design-the-mac-os-x-leopard-folder/
Also, set the Pen Tool to “Shape Layers” like shown below:

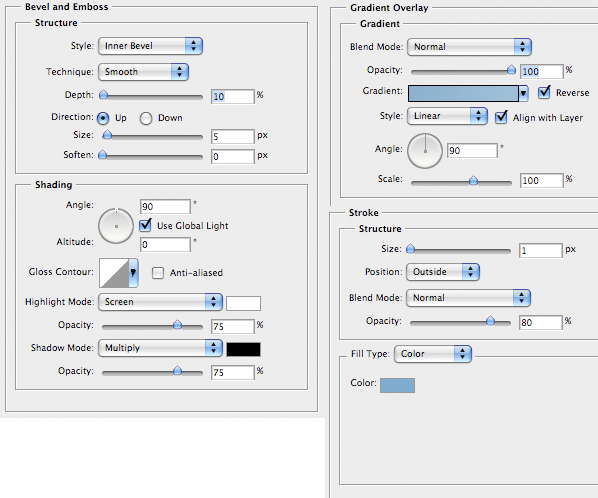
Now let’s add some Stroke to “Folder_Top”. Use the color #80adcf and lower down the Opacity to 80%. Also, add Bevel and Emboss to “Folder_Top”. Use the settings shown below:
Hide “Folder_Top” and create a new Shape like the one shown below and name it “Folder_Bottom”. Again, if you have any problem in doing so, you may use this custom shape I made.

Double click on “Folder_Bottom” to activate Blending Options and apply Gradient Overlay using #b2cbde as the foreground color and #79a5c6 as the background color. Again, be sure to click on Reverse.
Now let’s add some Stroke to “Folder_Bottom”. Use the color #80adcf and lower down the Opacity to 80%. Also, add Bevel and Emboss to “Folder_Bottom”. Use the settings shown below:
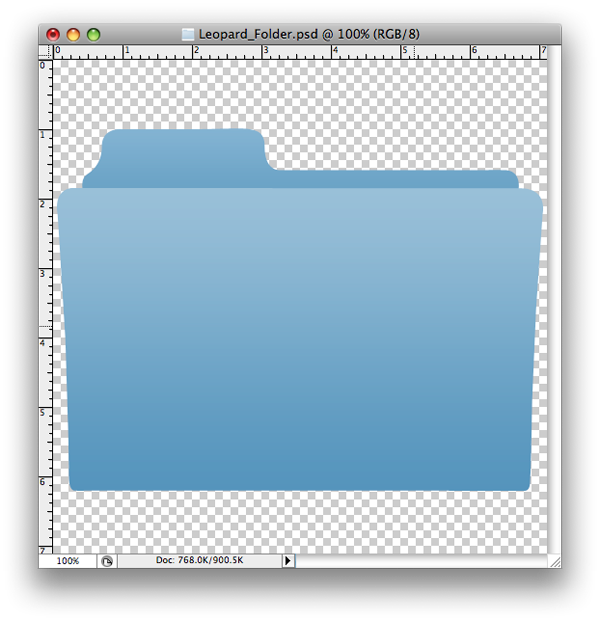
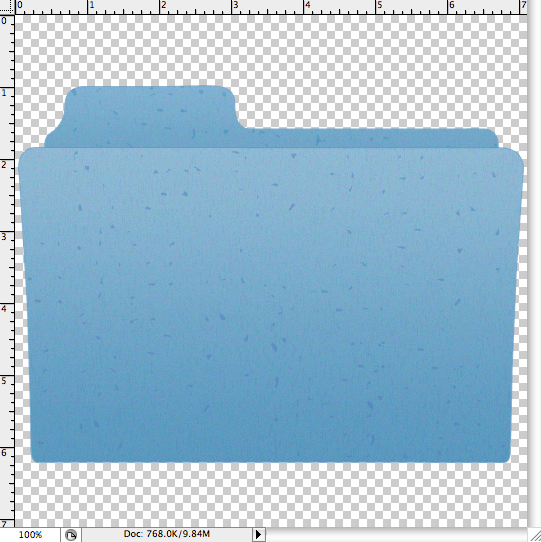
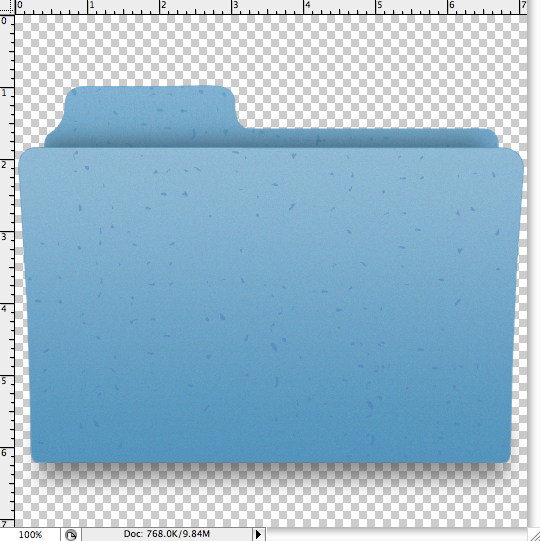
Now make “Folder_Top” visible. Your resultant image should look something like this:
So let’s add some Noise. Duplicate “Folder_Bottom”. Rasterize the new layer by simply double clicking and selecting the respective option. Name this layer “Folder_Bottom_Noise”. Also, be sure to turn off any layer style on “Folder_Bottom_Noise”.
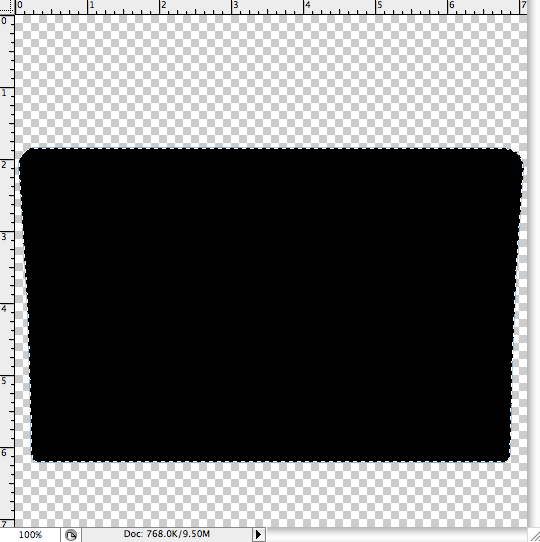
Now select the Magic Wand from the Toolbox and click inside “Folder_Bottom_Noise”, selecting the folder shape like shown below:
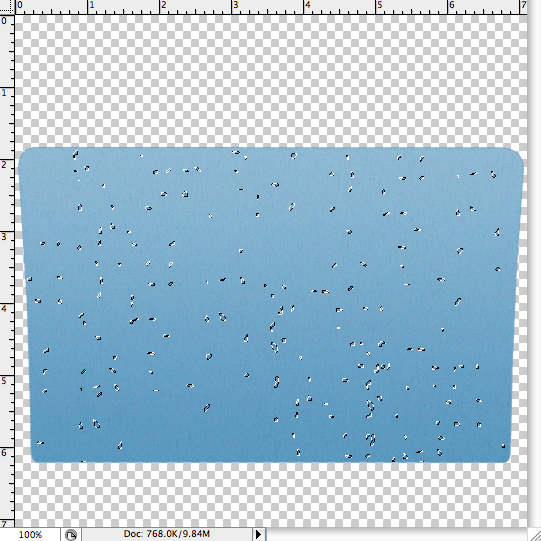
 Fill the selection with #79a5c6 using the Paint Bucket Tool. Then go to Filter > Noise > Add Noise. Use the settings shown below:
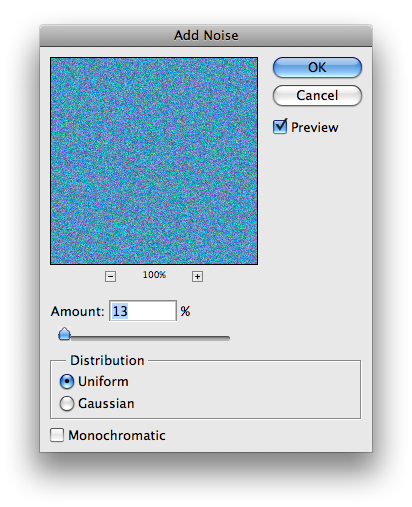 Once you have successfully added noise to “Folder_Bottom_Noise”, lower down the opacity of the layer to 15%.
Now let’s add some more detail to the folder. Duplicate “Folder_Bottom”. Rasterize the new layer by simply double clicking and selecting the respective option. Name this layer “Folder_Bottom_Sketch”. Again, be sure to turn off any layer style on “Folder_Bottom_Sketch”.
Now select the Magic Wand from the Toolbox and click inside “Folder_Bottom_Sketch”, selecting the folder shape like shown below:
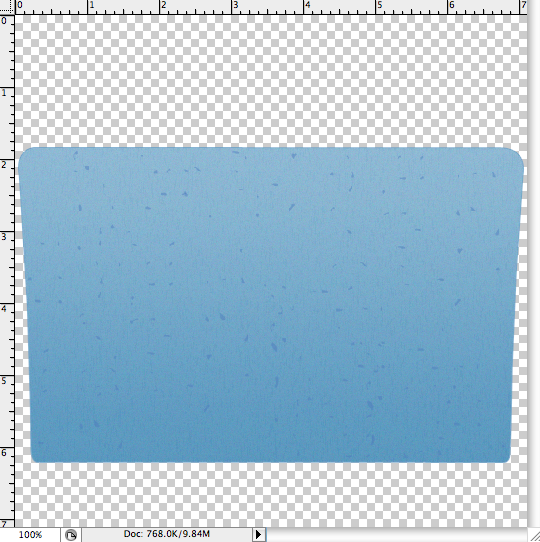
Fill the selection with #79a5c6 using the Paint Bucket Tool. Then go to Filter > Sketch > Graphic Pen. Use the settings shown below:
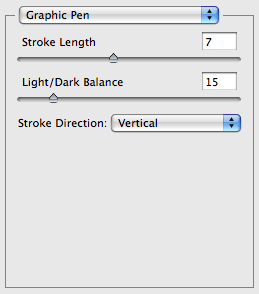 Once you have successfully added the sketch effect to “Folder_Bottom_Sketch”, lower down the opacity to 10%.
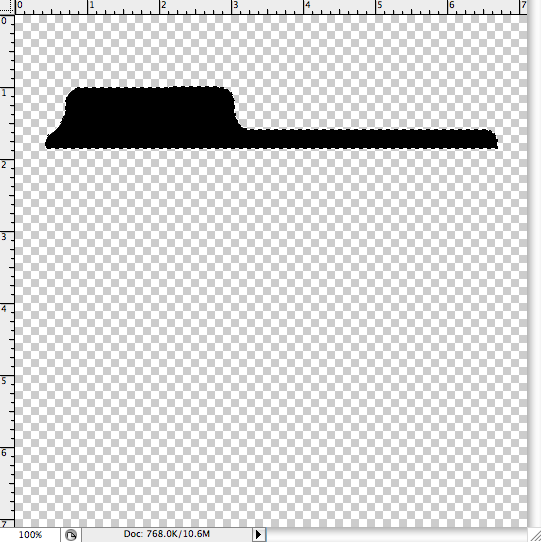
And finally, create a new layer and name it “Folder_Bottom_Scatter”. Grab the Lasso Tool and create random scatter like shown below:
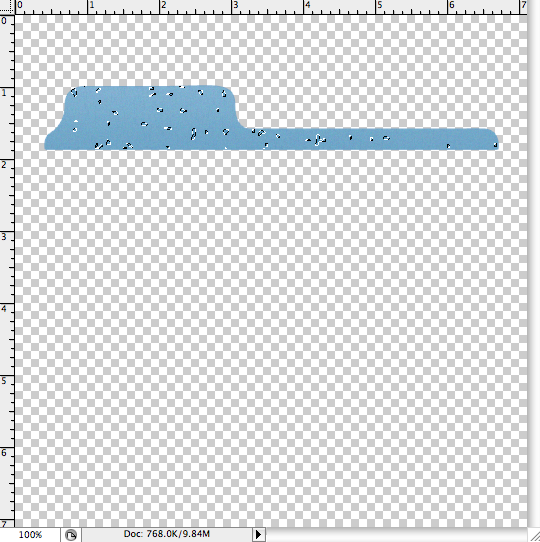
 If you have any difficulty in doing so, you may use this “scatter” brush I made. Now fill the selection with #80adcf. Once that is done, you should have something that looks like this:
Now select the Magic Wand from the Toolbox and click inside “Folder_Top_Noise”, selecting the folder shape like shown below:
 Fill the selection with #79a5c6 using the Paint Bucket Tool. Then go to Filter > Noise > Add Noise. Use the settings shown below:
Once you have successfully added noise to “Folder_Top_Noise”, lower down the opacity of the layer to 15%.
Now let’s add some more detail to the folder. Duplicate “Folder_Top”. Rasterize the layer by simply double clicking and selecting the respective option. Name this layer “Folder_Top_Sketch”. Again, be sure to turn off any layer style.
Now select the Magic Wand from the Toolbox and click inside “Folder_Top_Sketch”, selecting the folder shape like shown below:
Fill the selection with #79a5c6 using the Paint Bucket Tool. Then go to Filter > Sketch > Graphic Pen. Use the settings shown below:
 Once you have successfully added the sketch effect to “Folder_Top_Sketch”, lower down the opacity of the layer to 10%.
And finally, create a new layer and name it “Folder_Top_Scatter”. Grab the Lasso Tool and create random scatter like shown below:
 Set “Folder_Bottom”, “Folder_Bottom_Noise”, “Folder_Bottom_Sketch” and “Folder_Bottom_Scatter” to Visible. Once that is done, you should have something that looks like this:
 Then go to Filter > Blur > Gaussian Blur. Apply the settings shown below:
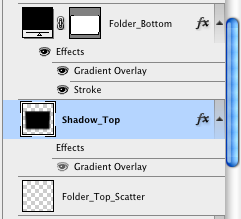
 Once you’ve done that, position “Shadow_Top” like shown below: (Make sure it can be seen when “Folder_Bottom” is visible. You might also need to use the Free Transform Tool by going to Edit > Free Transform in order to change the size of “Shadow_Top” so that it looks like the image shown below)
 Then lower down the opacity of “Shadow_Top” to 30%.
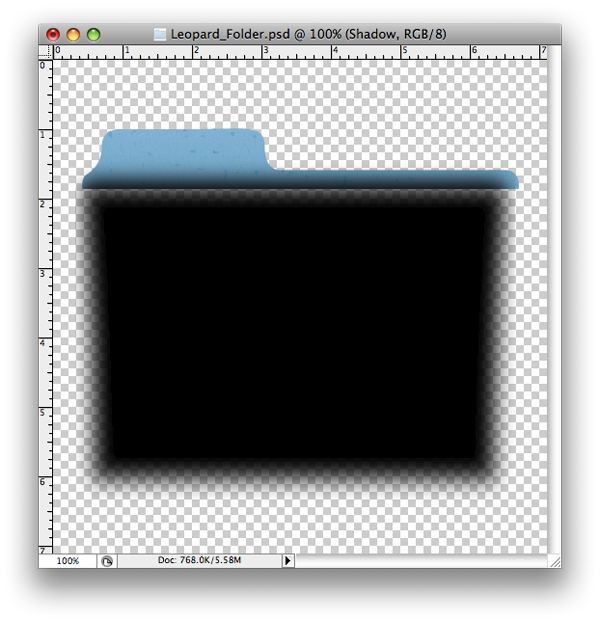
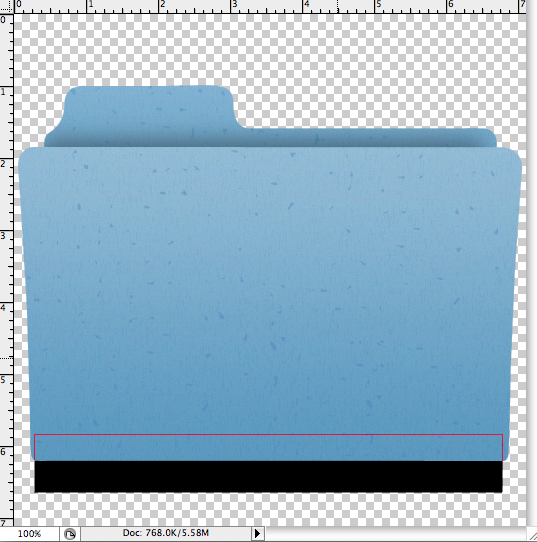
Next, grab the Rectangle Tool and draw a rectangle like shown below: (Make sure that the rectangle is below “Folder_Bottom” )
 Name the shape “Shadow_Bottom” and Rasterize it. Then go to Filter > Blur > Gaussian Blur. Apply the settings shown below:
Position “Shadow_Bottom” like show below: (You might have to use the Free Transform Tool to edit the size of “Shadow_Bottom”)
 Your resultant image should look something like this:
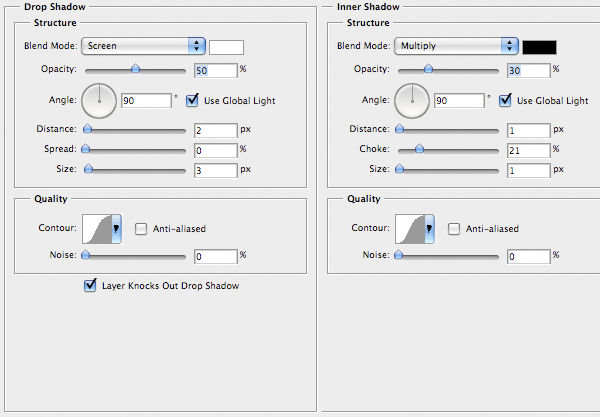
Fill your shape with #7a9db8 and lower down the opacity to 80%. Then double click on “Logo” and select Blending Options. Add Drop Shadow and Inner Shadow to your shape using the following settings:
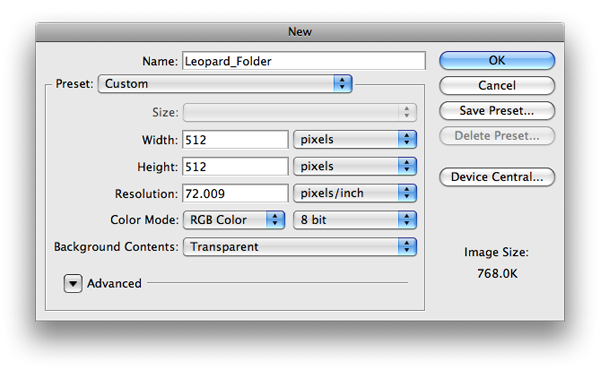
Step 1: Create a New Document
Create a new Photoshop document with the dimensions of 512 x 512 pixels and a transparent background. This is the perfect size for the icon we are trying to make.Step 2: Setup
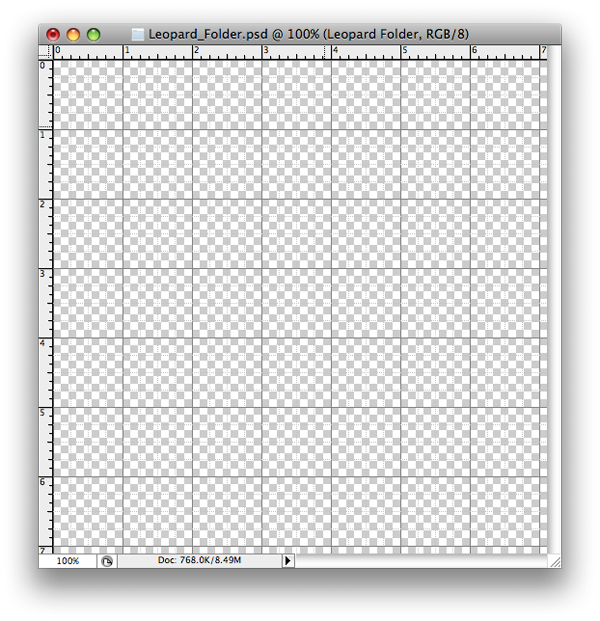
Enable the Grid by going to View > Show > Grid. Also enable Snap by going to View > Snap. Enabling Snap makes it easy for us to draw precise shapes using the pen tool.Also, set the Pen Tool to “Shape Layers” like shown below:
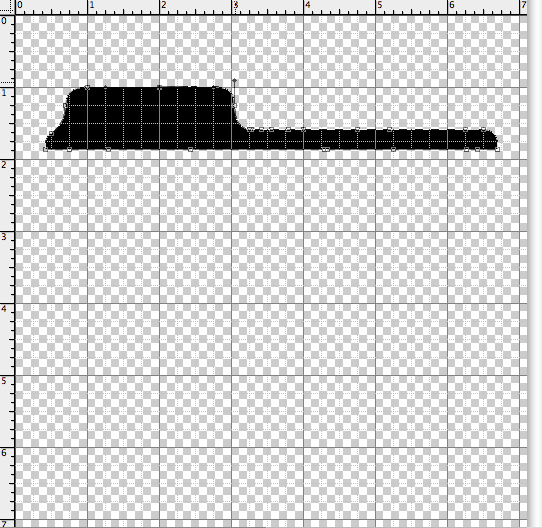
Step 3: Create A Shape
Grab the Pen Tool and make a Shape similar to the one below and name it “Folder_Top”. If you have any difficulty in creating this shape, you may download this custom shape I made and use it instead.Step 4: Add Style to “Folder_Top”
Double click on “Folder_Top” to activate Blending Options and apply Gradient Overlay using #a0c0d9 as the foreground color and #8cb2ce as the background color. Be sure to click on Reverse.Now let’s add some Stroke to “Folder_Top”. Use the color #80adcf and lower down the Opacity to 80%. Also, add Bevel and Emboss to “Folder_Top”. Use the settings shown below:
Step 5: Create Another Shape
Now that we’ve created the top half of the folder, it’s now time to create the bottom half.Hide “Folder_Top” and create a new Shape like the one shown below and name it “Folder_Bottom”. Again, if you have any problem in doing so, you may use this custom shape I made.
Step 6: Add Style to “Folder_Bottom”
Note
This time we are using a different foreground and background color because we want “Folder_Bottom” to stand out and look different from “Folder_Top”.Now let’s add some Stroke to “Folder_Bottom”. Use the color #80adcf and lower down the Opacity to 80%. Also, add Bevel and Emboss to “Folder_Bottom”. Use the settings shown below:
Step 7: Add More Styling to “Folder_Bottom”
Now that we’ve added Gradient Overlay and Stroke to “Folder_Bottom”, it’s time to get more precise so that we have a realistic feel.So let’s add some Noise. Duplicate “Folder_Bottom”. Rasterize the new layer by simply double clicking and selecting the respective option. Name this layer “Folder_Bottom_Noise”. Also, be sure to turn off any layer style on “Folder_Bottom_Noise”.
Now select the Magic Wand from the Toolbox and click inside “Folder_Bottom_Noise”, selecting the folder shape like shown below:
Now let’s add some more detail to the folder. Duplicate “Folder_Bottom”. Rasterize the new layer by simply double clicking and selecting the respective option. Name this layer “Folder_Bottom_Sketch”. Again, be sure to turn off any layer style on “Folder_Bottom_Sketch”.
Now select the Magic Wand from the Toolbox and click inside “Folder_Bottom_Sketch”, selecting the folder shape like shown below:
And finally, create a new layer and name it “Folder_Bottom_Scatter”. Grab the Lasso Tool and create random scatter like shown below:
Tip
You might want to hold down the Shift button while drawing the scatter.Step 8: Add More Styling to “Folder_Top”
Hide “Folder_Bottom”, “Folder_Bottom_Noise”, “Folder_Bottom_Sketch” and “Folder_Bottom_Scatter”. Then select “Folder_Top” and Duplicate it. Rasterize the new layer and name it “Folder_Top_Noise”. Make sure that any layer style is set to off.Now select the Magic Wand from the Toolbox and click inside “Folder_Top_Noise”, selecting the folder shape like shown below:
Now let’s add some more detail to the folder. Duplicate “Folder_Top”. Rasterize the layer by simply double clicking and selecting the respective option. Name this layer “Folder_Top_Sketch”. Again, be sure to turn off any layer style.
Now select the Magic Wand from the Toolbox and click inside “Folder_Top_Sketch”, selecting the folder shape like shown below:
And finally, create a new layer and name it “Folder_Top_Scatter”. Grab the Lasso Tool and create random scatter like shown below:
Step 8: Add Shadow
Duplicate “Folder_Bottom” and Rasterize it. Name the new layer “Shadow_Top”. Also, be sure to turn off any layer styles. Place this layer between “Folder_Bottom” and “Folder_Top_Scatter” like shown below:Next, grab the Rectangle Tool and draw a rectangle like shown below: (Make sure that the rectangle is below “Folder_Bottom” )
Step 10: Add Logo
Now let’s add a logo to our folder. Create a new layer and name it “Logo”. Now draw any shape you like (I’m using an “X” in this case).Fill your shape with #7a9db8 and lower down the opacity to 80%. Then double click on “Logo” and select Blending Options. Add Drop Shadow and Inner Shadow to your shape using the following settings:
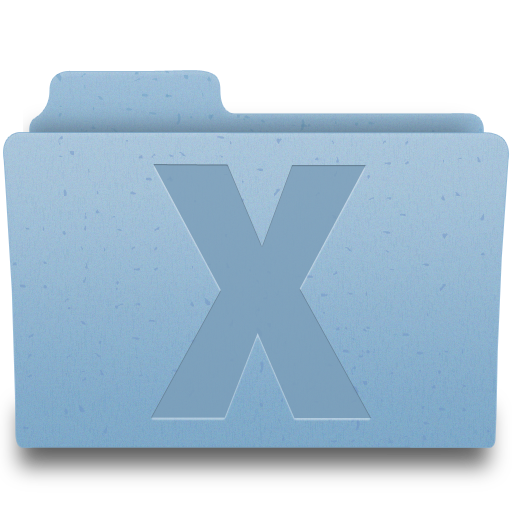
Final Image:
Now that you have completed all steps, your image should look something like this: (If it doesn’t, then feel free to check out the .psd file included in this tutorial).
No comments:
Post a Comment