http://cs5tutorial.net/design-a-stylish-retro-game-boy-poster-in-photoshop/
 Head over to Adobe Illustrator and open a new Web Document – This will automatically set the document to RGB at a suitable resolution/dpi. The size of the document doesn’t really matter because the outcome will be a vector image, meaning it’ll be scalable. I used an 800x600px document set to portrait.
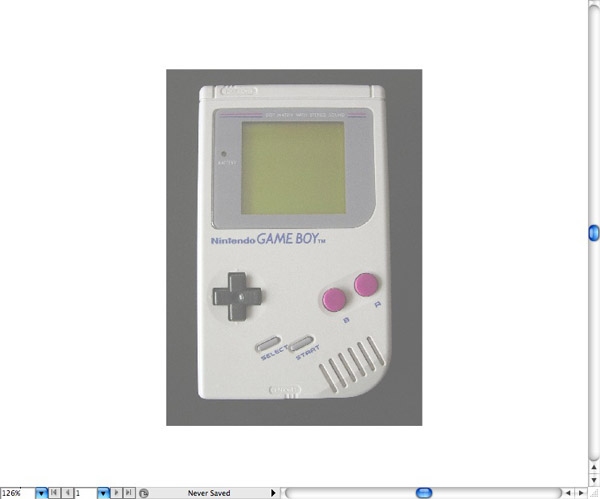
Download the Gameboy stock photo from SXC.hu and place it into your document. You can do this by going to File > Place and then locating your image. Lower the opacity of your gameboy and lock the layer.
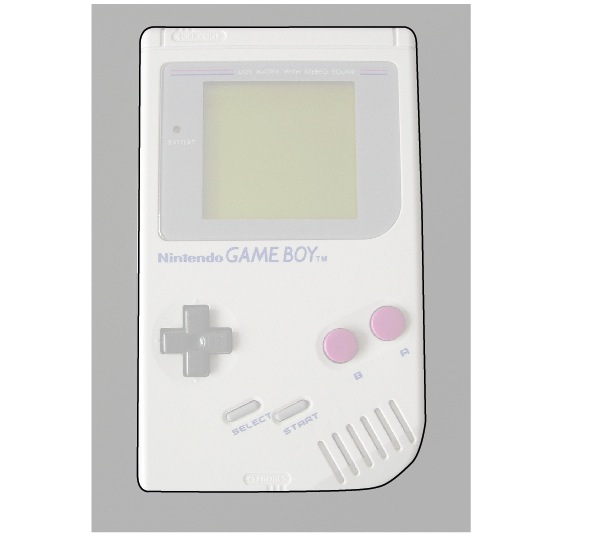 Make a new layer and select the Pen Tool. It’s time to start the tracing. With 1px black stroke selected, trace round the main shape of the gameboy.
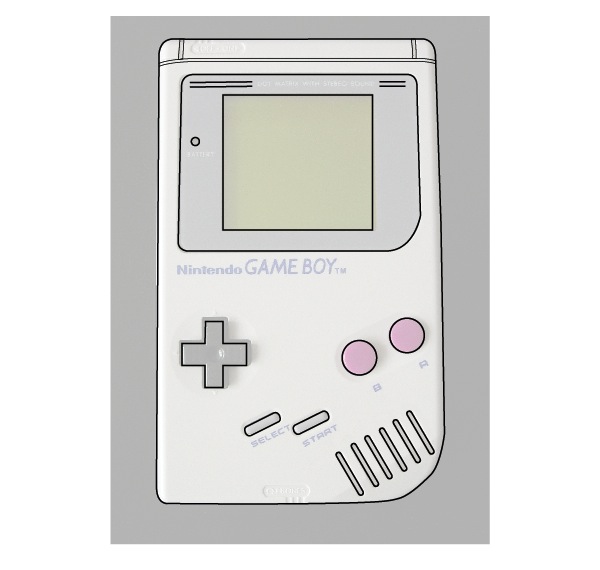
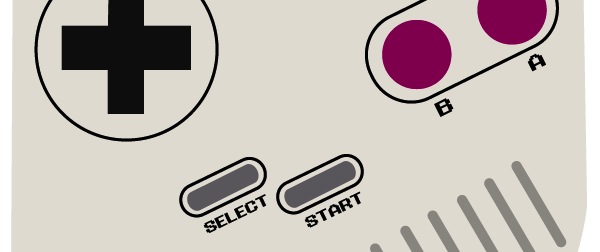
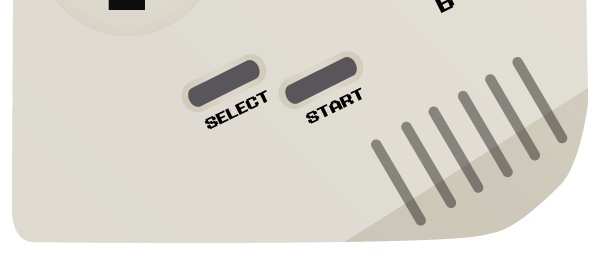
 Carry on tracing some main shapes of the object until you have something like you see above. Remember you’re not limited to using the Pen Tool, try other
tools such as the Ellipse Tool and Rounded Rectangle Tool. You can also Copy & Paste some items to make sure they’re the same, such as the select, start, A & B buttons.
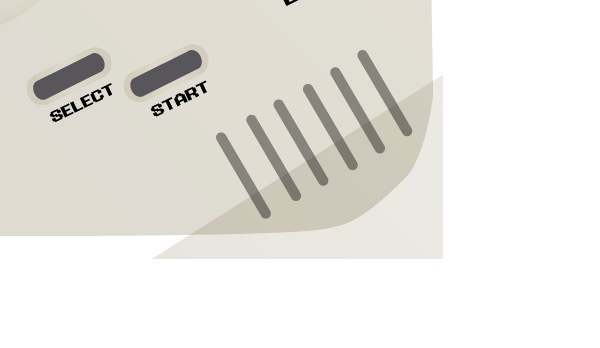
 Fill in a few of the not so bold areas, such as the grooves at the top of the Gameboy using a thinner 0.5px stroked line.
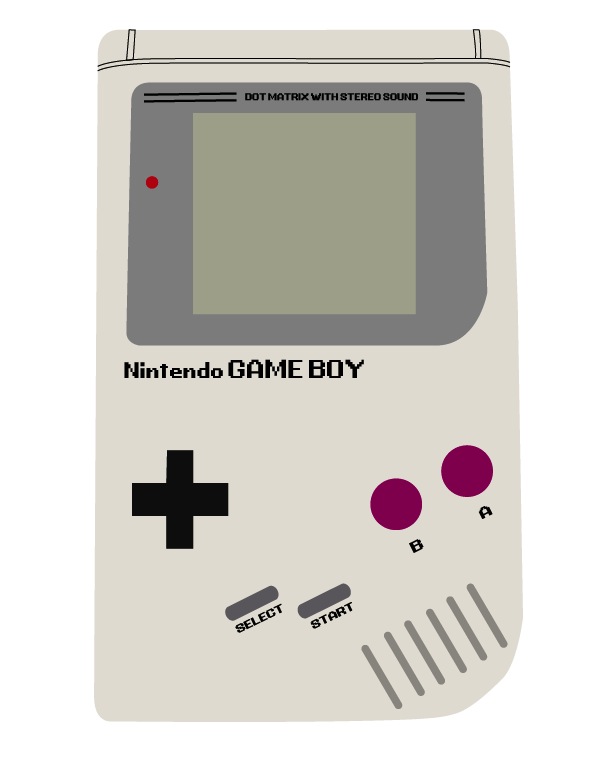
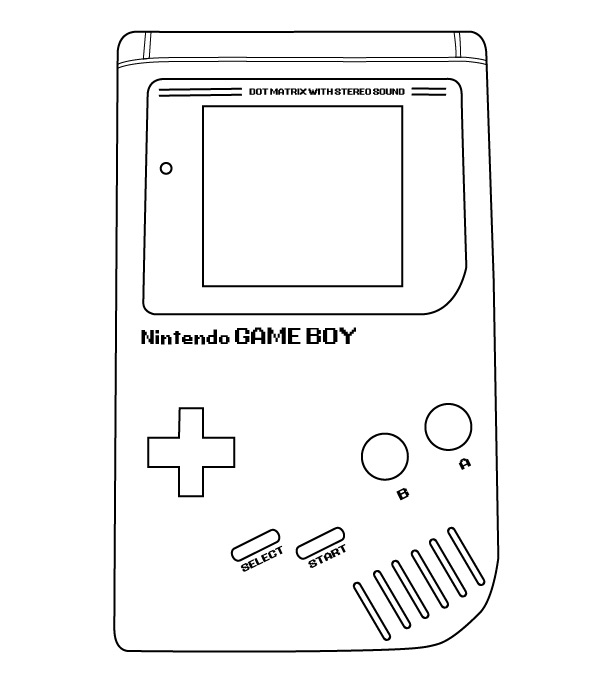 Install the font ‘G.B.Boot’ if you don’t already have it (you can find the link at the top of the page). It’s not the exact same as the original Gameboy font, but will do. Fill in the few areas of text that are required, such as Nintendo GAME BOY, Select, Start, A and B. I also filled in the text above the Gameboys screen: ‘dot matrix with stereo sound’.
To get the right text size you just need to experiment. You might find you need to Create Outlines of the text by going to Type > Create Outlines before you can rotate the type into place. When the outlines are created, you can also resize the text, as well as stretching it, without losing any quality.
 It’s time to add some colour to our game boy, which should be looking pretty cool. The colors here are up to you, but I’m going to stick with original color scheme as was used on the gameboy in the stock photo we used earlier. You can get your stock photo up so it’s side by side with your new vector game boy, which makes it easier to select colors using the Eyedropper Tool.
Select the outer stroke of your game boy (the first line we did) and fill it with a grey. You can remove the stroke, we won’t be needing it! Do the same with the screens border, the screen and the buttons, obviously using there own specific colors. I also added a red light next to the screen, which I’m sure most people will know means the Game boy is switched on.
 The main shape of our gameboy is looking pretty good, but very flat. To make it look a little more 3D we should add some shadows: the easiest way to do this is by adding gradients and custom shapes. With the stock image still showing, trace over some of the ellipses that can be seen beneath the buttons and move them into place on our vector image.
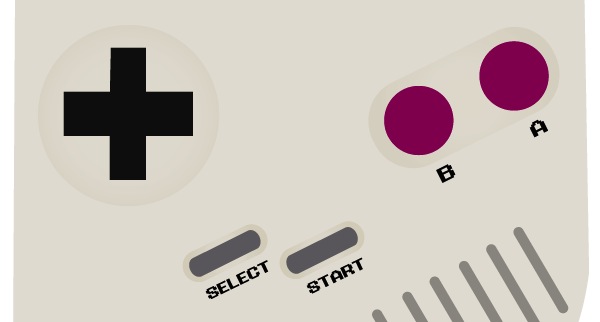 Select one of your new shapes and delete the stroke. Open the Gradient window by going to Window > Gradient. Select two colors similar to the one you used as your game boy background to give it a shadowed look – try experimenting with both Linear and Radial gradients. The best way to get this right is by looking back at the stock photo to see what direction the light source is coming from. Once one gradient is done, repeat the process on the others.
Another thing to do to make the game boy more realistic is to set your new gradients to different blending modes. Open the Transparency window by going to Window > Transparency. Different blending modes do different things depending on the color of the object selected as well as the color of the object beneath, so experiment. I used Colour Burn at 50% opacity on all of my gradients.
 Our Game boy is getting there. Before we add some more shadows, add a slight gradient to the Game boy itself, and repeat the process with the screen and the screens border. Whilst we’re there, change the color of the thin strokes above the screen and on top of the game boy.
 Grab the Pen Tool again and draw a rough shape round the bottom right corner of our Game boy, like you can see above. Fill it with a color from your Game boys background gradient and change its blending mode to Multiply at 70%.
 Select the main background of our Game boy – copy and paste it in place by going to Edit > Paste in Front. With the new background select, hold shift and select our rough shadow shape. With both objects now selected, open the Pathfinder window by going to Window > Pathfinder, and then click on Intersect. If you did this right, you should be left with just the shadowed area.
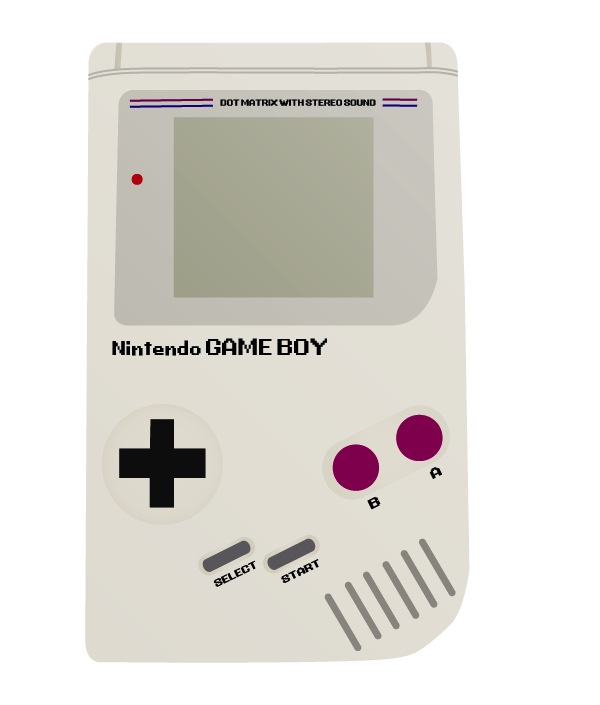
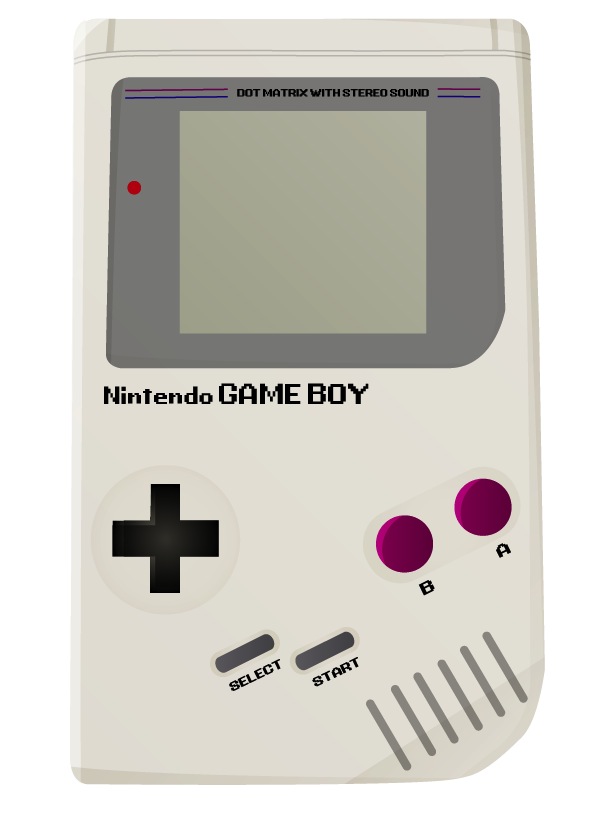 Repeat the process using the same technique for any other shadows. Don’t limit yourself to shapes, sizes and colors – try using the same technique for highlights, too (you might want to use a lighter color set to overlay). Again, use the same technique to add highlights and shadows to your buttons. Once you’ve done this, your game boy should be complete – I’m going for a simplistic look simply because I want it to stand out from the lighting effects and overlay shapes I’m going to be using in poster.
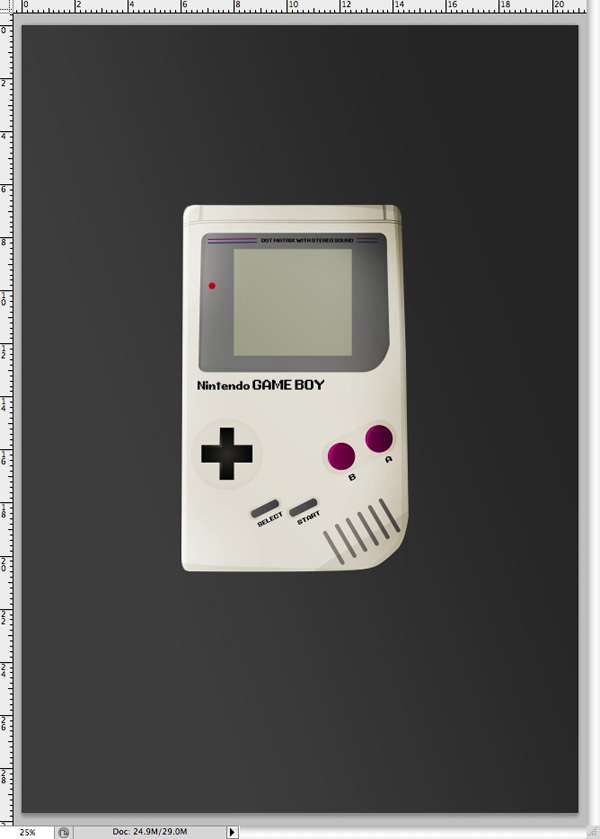
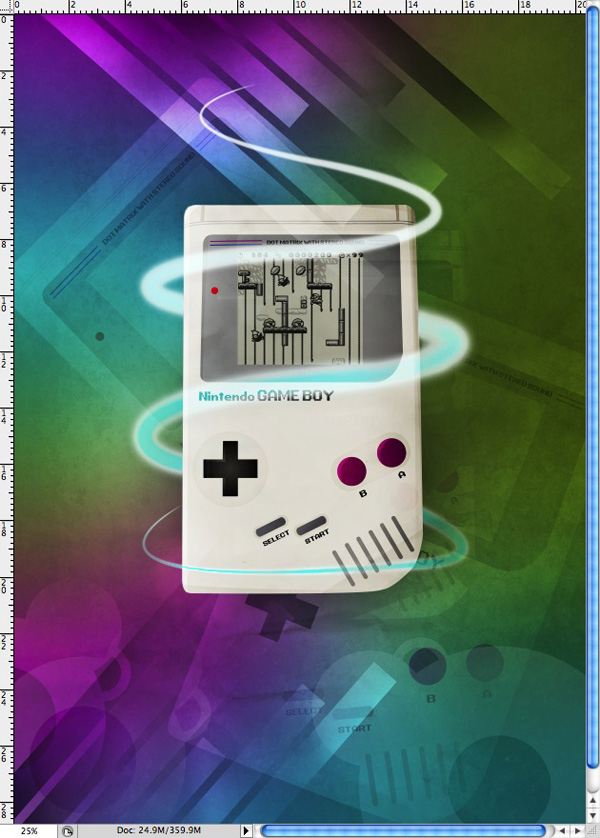
 With our vector illustration complete it’s time to start jazzing it up and making a poster from it in Photoshop. Open a new document, I’m using an A4 document set to RGB at 72 pixels per inch. If you’re planning on commercially printing the document, use the color mode CMYK set to at least 300 pixels per inch.
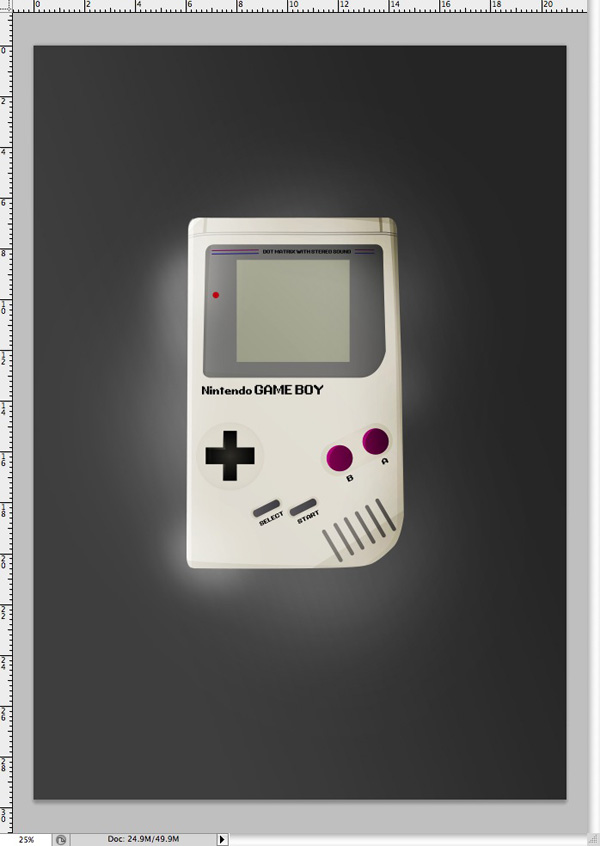
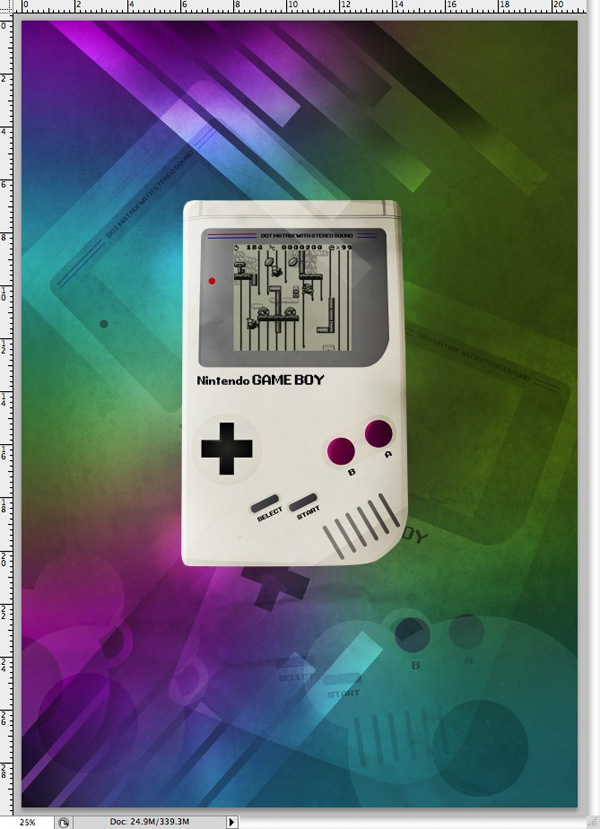
Fill the background with a dark grey to grey gradient, and place your vector game boy into the document by going to File > Place.
 First of all we’re going to add a little more lighting to the Game boy. Rasterize your Game boy layer (this will turn it into pixels, you won’t be able to scale it afterward), and select the Burn Tool. With a soft brush, brush round the shadowed areas of your game boy to give it a darker color. Do the same with the Dodge Tool to the lighter areas. The burn tool and dodge tool have reverse effects: for e.g. if you over do it with the burn tool, you can reverse the effect using the dodge tool.
 Make a new layer beneath the Game boy and select the Brush Tool, select a large white soft brush. On the new layer, brush a random shape beneath the Game boy. Make another new layer beneath the Game boy and repeat the process with a black brush. Set the white blobs blending mode to Overlay, and the black blobs blending mode to Soft Light at 30%.
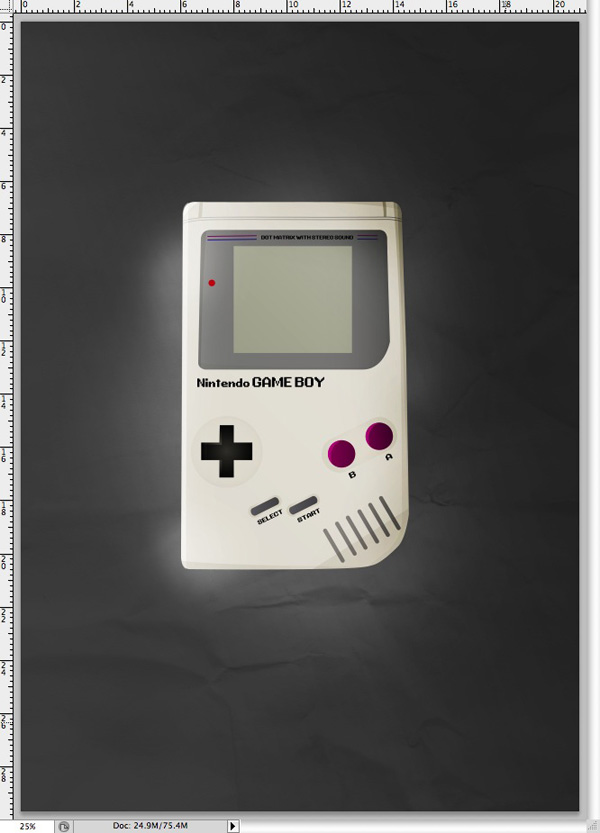 Go to File > Place and locate one of the textures you downloaded from the links at the top of this page. I’ve gone with one of my own Red & Yellow Dyed Paper Textures. Once you’ve inserted the texture, drop the saturation of it so it’s black and white. You can do this by going to Layer > New Adjustment Layer > Hue/Saturation. Once you’ve dropped the saturdation you’ll probably notice your Gameboy is also black and white. To fix this, click on the new adjustment layer and drag it to above your texture layer in the layers panel. Merge it with the texture layer by holding Cmnd+E orCtrl+E. Change the blending mode of the texture layer to Multiply at 50%.
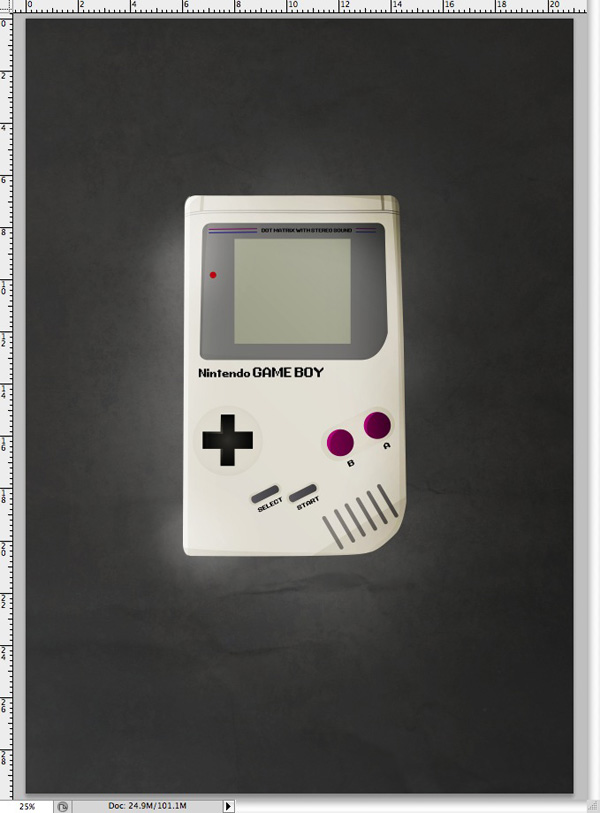 Find another texture you like and repeat the process again. This time I used one of Caleb Kimbroughs Experimental Grunge Textures. This time I set the textures blending mode to Difference at 10%.
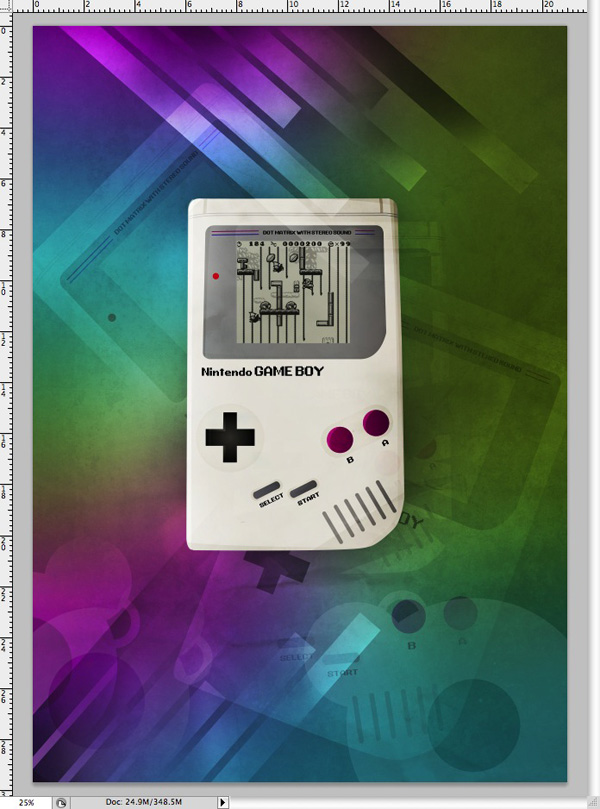
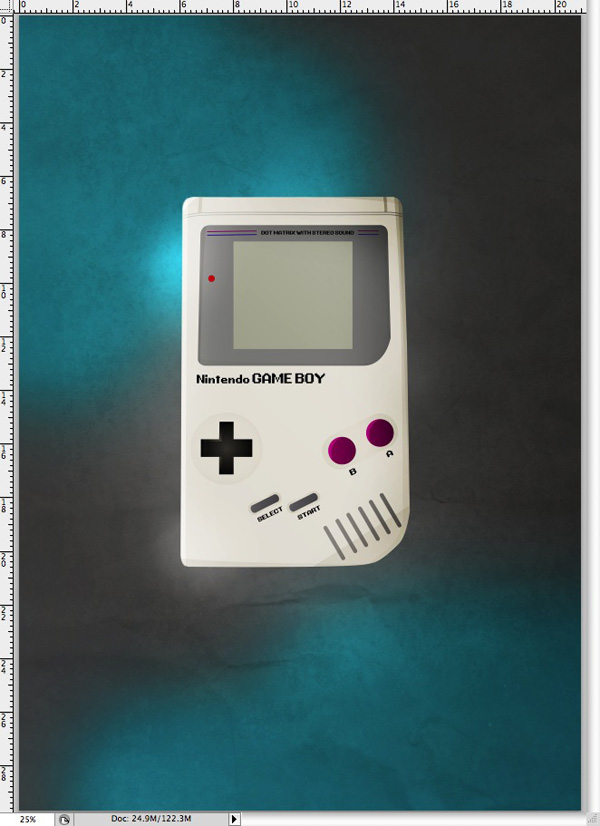 Make a new layer and grab the Brush Tool. Select a large, soft brush and your first color (I’m using a electric blue color). Brush around some areas of your poster and change the layers blending mode to overlay.
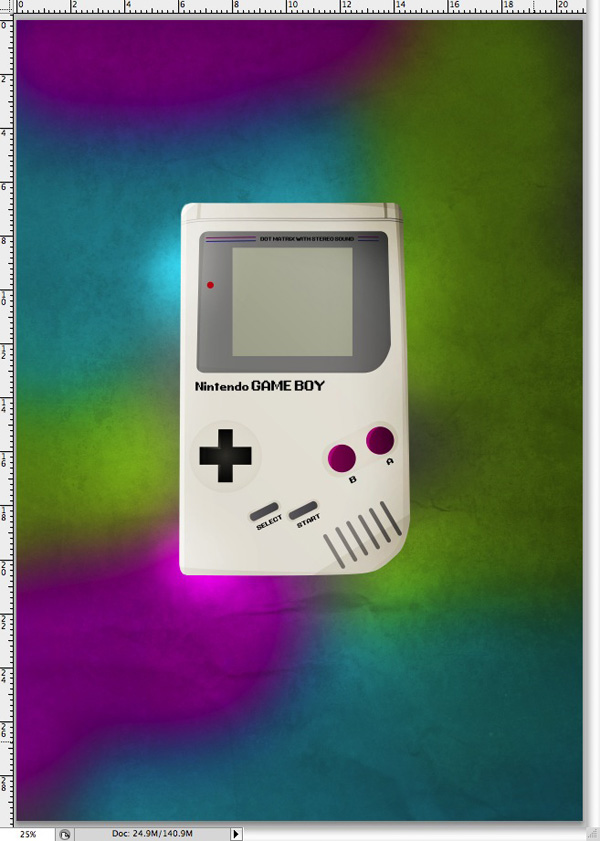 Repeat the process a couple more times using different colors. I used blue, green and pink on the same layer.
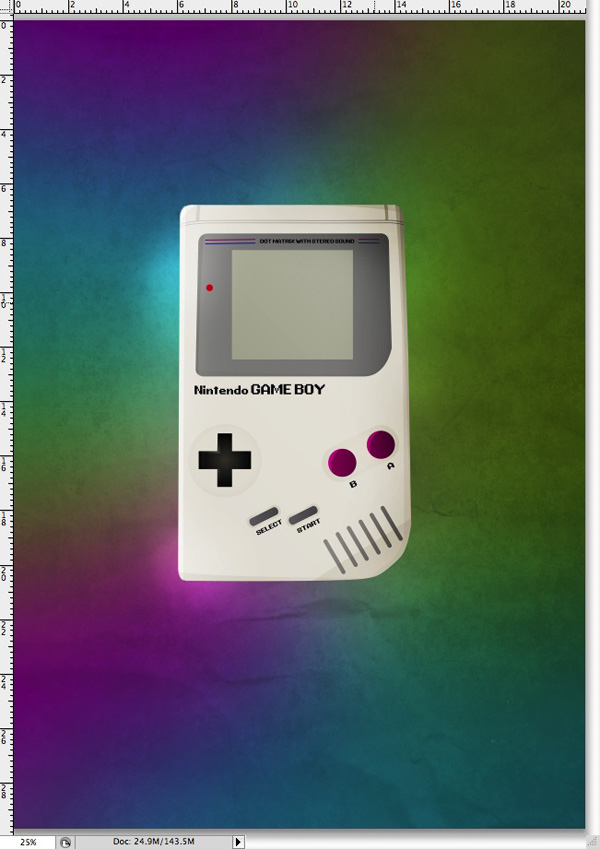 With the same layer still selected, go to Filter > Blur > Gaussian Blur and give it a high pixel radius. I used 250 pixels.
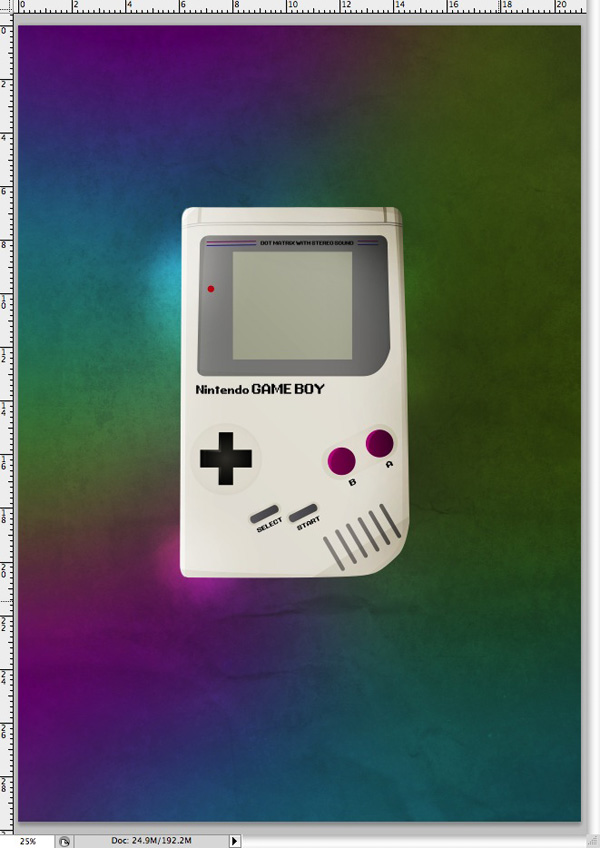 Make another new layer above the color blob layers, and with the same brush paint a shadowed area beneath the game boy using a dark grey or black color.
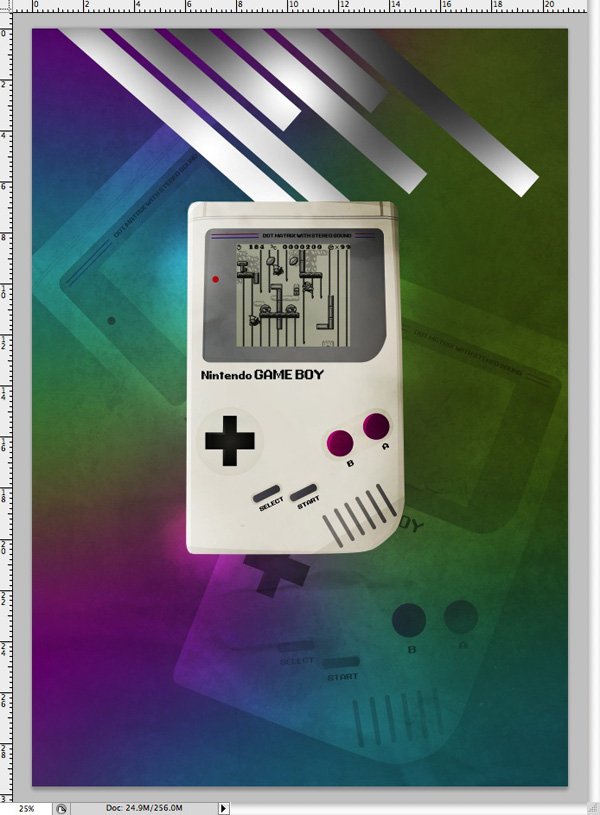
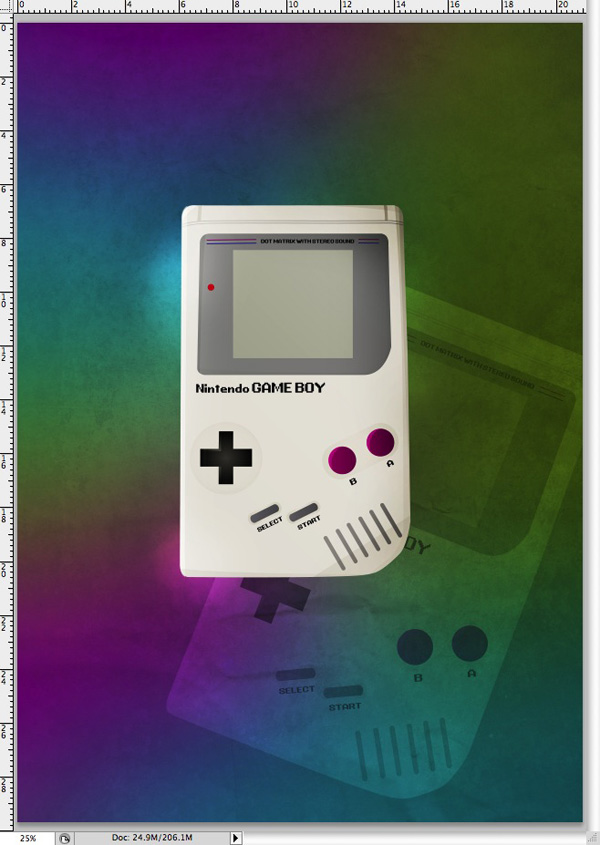 Go to File > Place and place your Gameboy Vector image back into the Photoshop. Move the layer beneath the original gameboy image and place it somewhere you like. Change the blending mode to overlay and lower the opacity.
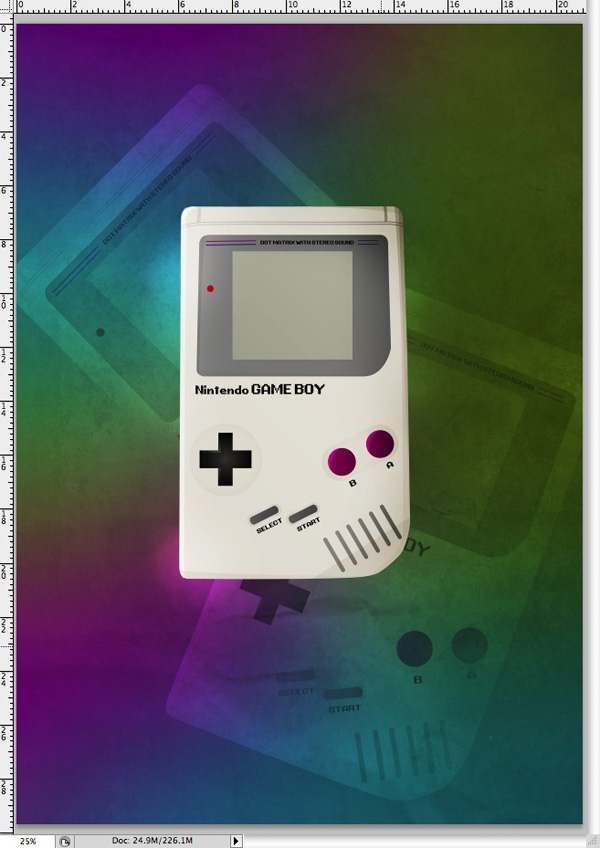 Repeat the step again, use a soft eraser to get rid of any areas you don’t want.
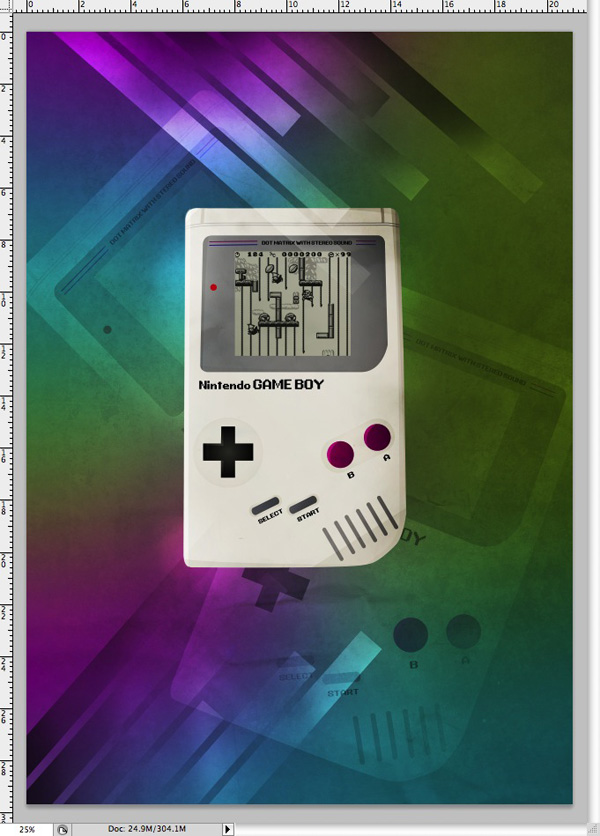
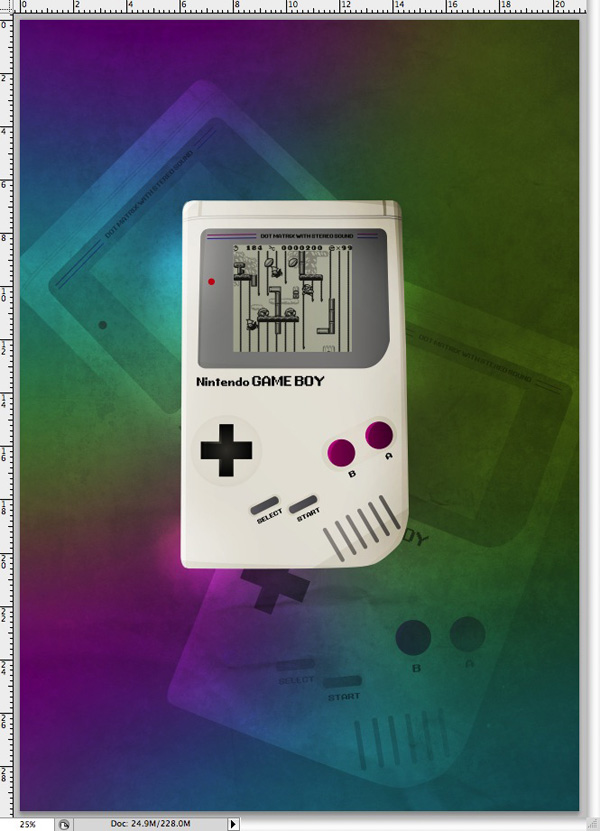 Head over to Google and search for a screenshot of a Nintendo game in action. Copy and paste the image into your document and position it in place over your Nintendo screen. Set the layer to Multiply to get rid of any white areas and take on the color in the background. Lower the opacity as required.
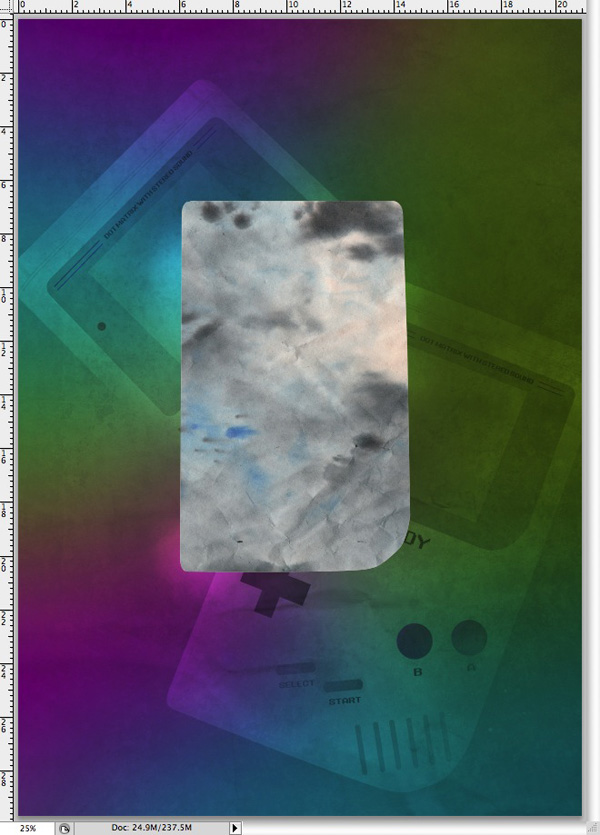 Download another texture, I’m using another one of my own from my Ink Stained Packaging Paper texture pack. Place the file on top of the Game boy. With the Game boy layer selected, hold Cmnd or Ctrl and click on the preview image of the game boy in the layers palette. Go to Select > Inverse to inverse your selection. Click on the new texture layer and hit the delete key.
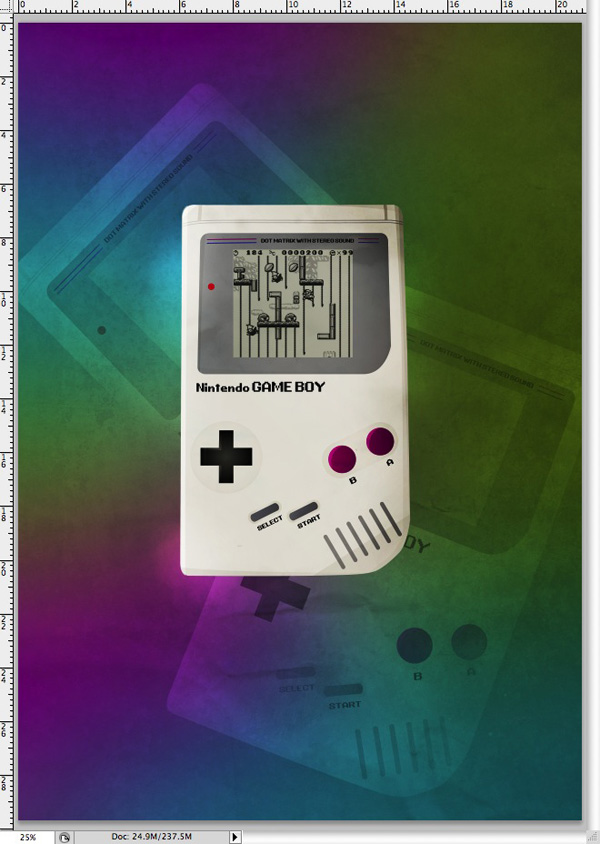 With the new texture layer still selected, change the blending mode to color burn with an opacity of 20%.
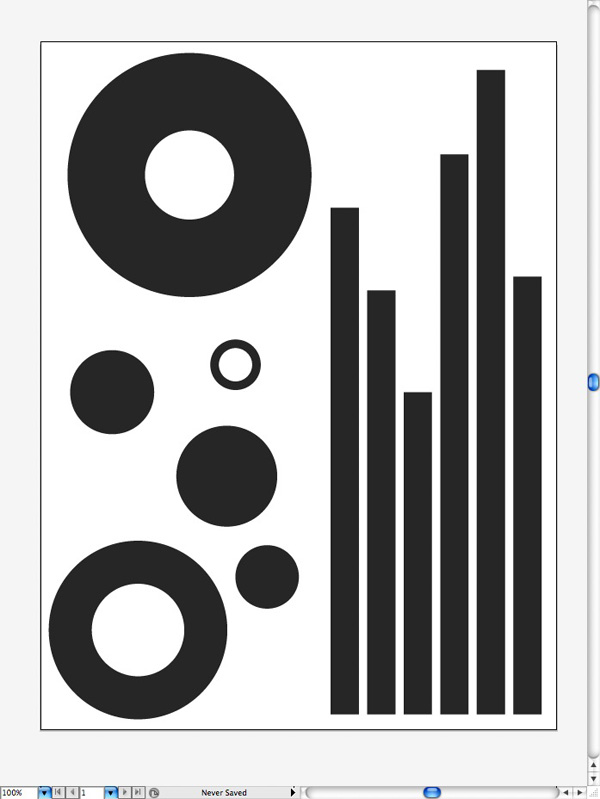 Head back over to Illustrator and use the rectangle and ellipse tools to create some custom shapes. You can download these shapes by hitting the big green button at the bottom of this tutorial if you don’t have Illustrator, just import them into photoshop by going to File > Place.
 After modifying the shapes to how you like them, copy one of the Illustrator files and paste it into your Photoshop document as a smart object. Rasterize the layer and hold Cmnd or Ctrl and click on the layers preview image in the layers palette. Using a soft white brush, paint over areas of it to give it a gradient like effect.
 Set the layer to overlay, and delete some areas using a soft eraser. Duplicate the layer, rotate and reposition it somewhere else in your document.
 Repeat the process with some other custom vector shapes from your Illustrator file.
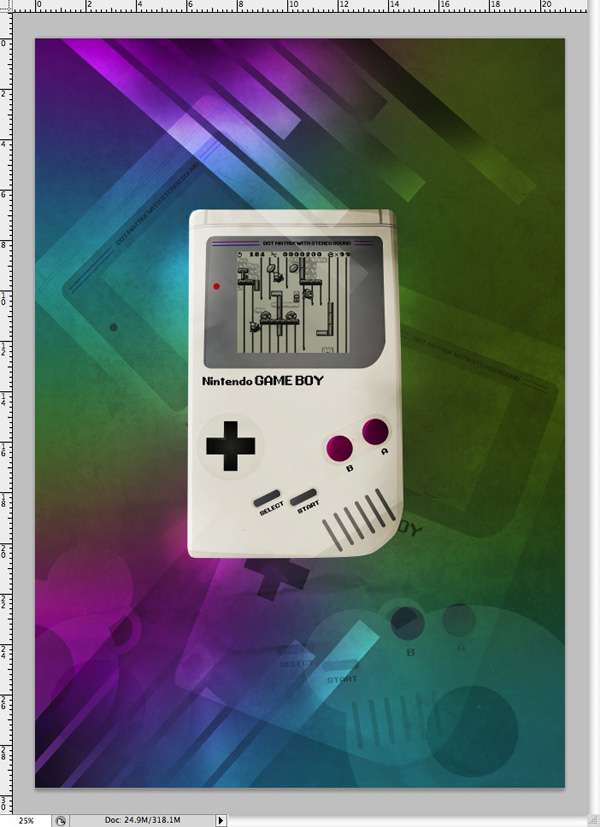
 Make a new layer above all the other layers and select the Brush Tool. Choose a medium sized soft brush and brush white blobs randomly over your canvas. Change the blending mode to overlay at 20%. Repeat the step again, this time changing the blending mode to overlay at 30%. Make sure the white blobs are in different places.
 Duplicate the original game boy layer. Using the Polygonal Lasso Tool, cut areas of the new game boy layer away. Move the layer slightly, and change the blending mode to overlay, use a soft eraser to get rid of some areas of the new layer.
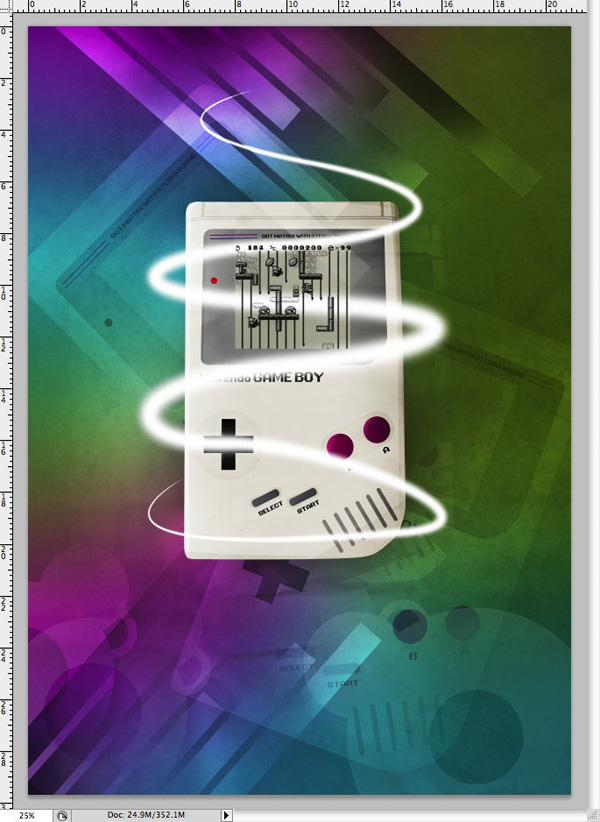 Make a new layer and select the Pen Tool, start to draw some curly lines round the game boy. Once you’ve finished your curly line, with the path still selected, select the Brush Tool. Select a small soft brush, and make sure you have a light color selected. Select the Pen Tool again and Ctrl+Click (right click for Windows users) on the path. Click on Stroke Path, make sure the simulate pressure box is ticked.
 Select a hard eraser, and delete some areas of the curvy line we’ve just created.
 With the curvy line layer selected, go to Layer > Layer Styles > Blending Options. Add a gradient, inner glow and outer glow. The settings all depend on the size of brush you used to create the glow, so just experiment and go with what you think looks best. Create a new layer beneath the curly glow layer, and merge the two together. This just means we can set the blending mode. Change the
blending mode to Pin Light, and delete/reduce the intensity of the glow in some places using a soft eraser.
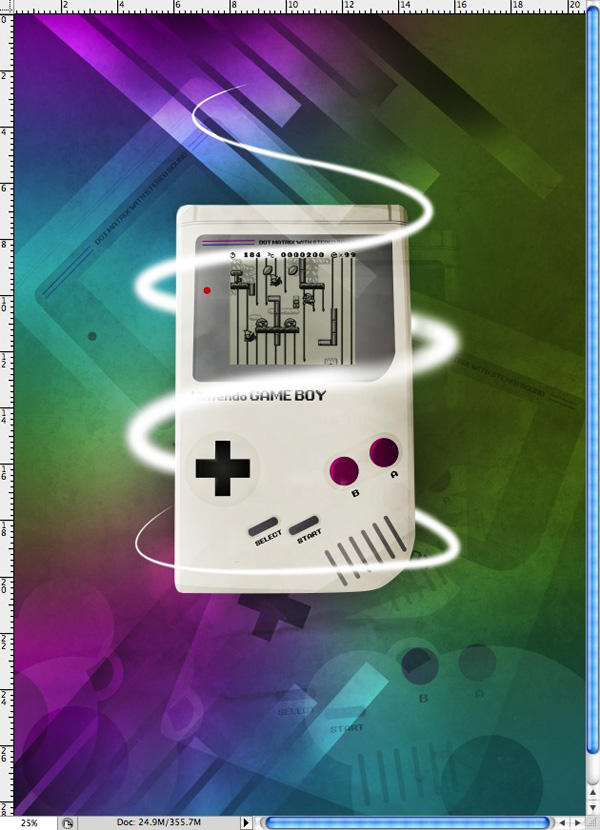
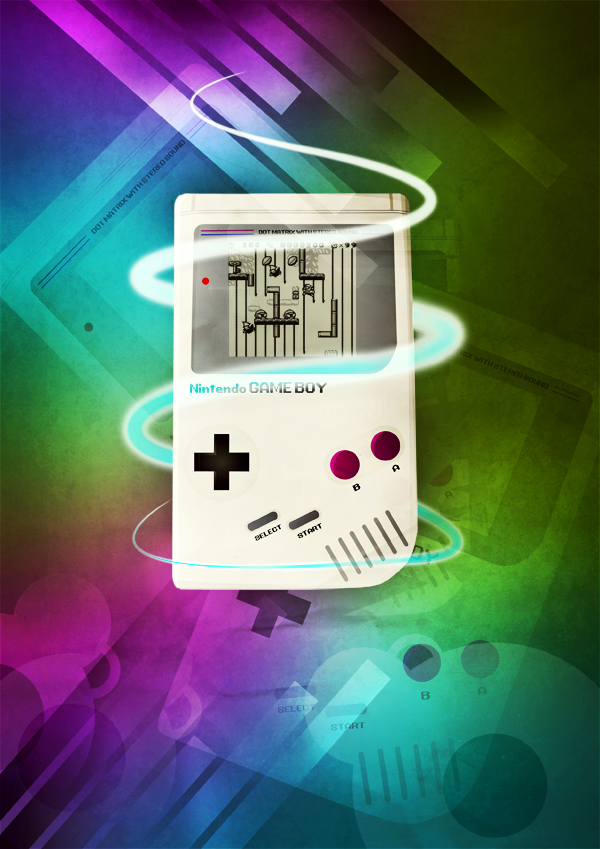 Play about with some settings like contrast levels and color balances, and save!
Step 1: Setting Up The Illustrator Document
Please note that if you don’t have Illustrator, or simply don’t want to use it, you can download the Vector Gameboy at the bottom of the screen! You can place the .AI file straight into Photoshop!Download the Gameboy stock photo from SXC.hu and place it into your document. You can do this by going to File > Place and then locating your image. Lower the opacity of your gameboy and lock the layer.
TIP: Double-Clicking the Layer…
To save some time when lowering the opacity and locking the layer, try double clicking on the layer to bring up a layers option menu. This allows you lock the layer and dim all images on the layer with just a few clicks!Step 2: Tracing Using Various Tools
tools such as the Ellipse Tool and Rounded Rectangle Tool. You can also Copy & Paste some items to make sure they’re the same, such as the select, start, A & B buttons.
TIP: Holding the Shift Key
If you come across neat corners or straight lines, try holding down the shift key when working with the Pen Tool. It can sometimes save a lot of frustration.Step 3: Adding Some Retro Type
To get the right text size you just need to experiment. You might find you need to Create Outlines of the text by going to Type > Create Outlines before you can rotate the type into place. When the outlines are created, you can also resize the text, as well as stretching it, without losing any quality.
Step 4: Adding Colour Using The Eyedropper Tool
Select the outer stroke of your game boy (the first line we did) and fill it with a grey. You can remove the stroke, we won’t be needing it! Do the same with the screens border, the screen and the buttons, obviously using there own specific colors. I also added a red light next to the screen, which I’m sure most people will know means the Game boy is switched on.
Step 5: Adding Grooves Using Gradients
Another thing to do to make the game boy more realistic is to set your new gradients to different blending modes. Open the Transparency window by going to Window > Transparency. Different blending modes do different things depending on the color of the object selected as well as the color of the object beneath, so experiment. I used Colour Burn at 50% opacity on all of my gradients.
TIP: Put the Color Guide to good use…
If you’re using your own color scheme for the game boy, you might find you don’t know what colors are best to use when it comes to adding shadows. Use Illustrators ‘Color Guide’ to help you choose different shades of the same color.Step 6: Adding Shadows Using Custom Shapes
TIP: Experiment!
Different things work better for different people, try adding different gradients to your shadows and experiment with different blending modes and opacities/transparencies. You won’t know what works best until you find it!Part 2 – The Poster
Step 1: Setting Up The Photoshop Document
Fill the background with a dark grey to grey gradient, and place your vector game boy into the document by going to File > Place.
Step 2: Adding Some Depth
Step 3: Adding Some Texture
Step 4: Adding Some Color
Step 5: Duplicating The Game boy
Step 6: Adding A Screenshot
Step 7: Adding Texture to the Gameboy
Step 8: Creating and Adding Some Custom Shapes
Step 9: Adding Some Finishing Touches
blending mode to Pin Light, and delete/reduce the intensity of the glow in some places using a soft eraser.
No comments:
Post a Comment