http://cs5tutorial.net/creating-a-surreal-smoking-bird-composition-in-photoshop/

Tutorial Resources
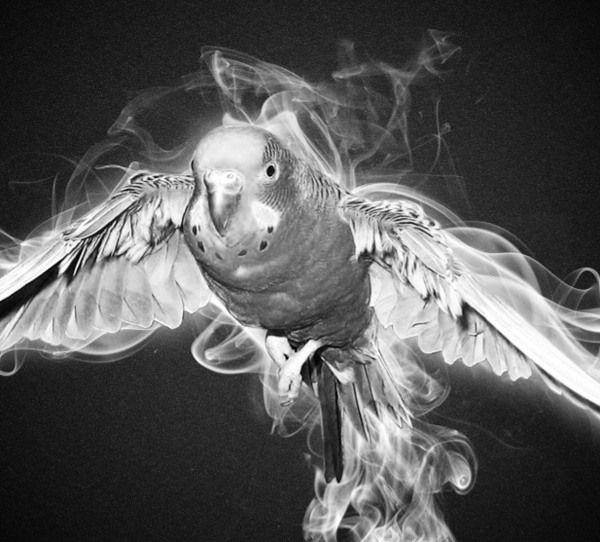
- Stock image: Bird in flight – “Budgie in flight 17″ by Karen Zachariasen (deviantART)
Step 1: Isolating the Bird
We’re going to start things off by downloading the Bird in flight stock image and opening it up in Photoshop. Using the Zoom Tool (Z), zoom in to a level where you can begin to trace around the bird. Then switch over to the Pen Tool (P).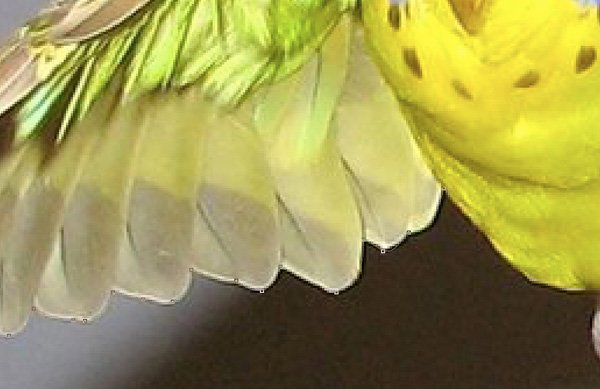
Use the Pen Tool to trace around the bird — this process may take a while to complete.
Step 2: Place and Desaturate the Bird
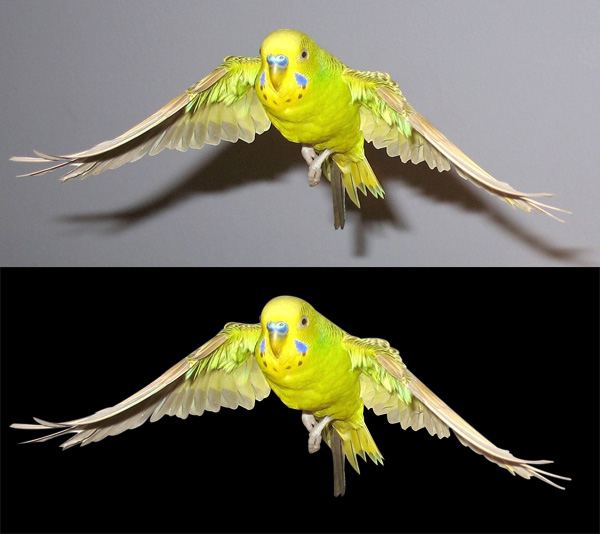
Next, create a new Photoshop document that is 7in wide by 5in tall. We want to create our work at a print size (roughly the size of a postcard). We can always scale it down later, but for now, we will stick with this dimension.Fill the default Background layer with black (#000000) using the Paint Bucket Tool (G).
Next, copy the isolated bird into the new document. Use Edit > Free Transform (or Ctrl/Cmd + T) to make the bird bigger, holding Shift to maintain the bird’s proportions as you rescale its size. Whenever you make a raster graphic bigger, you will lose resolution fidelity, but fortunately, we can do this without reducing the quality of the bird too much.
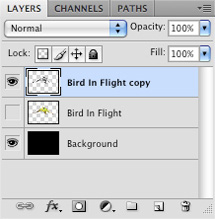
Duplicate this layer by pressing Cmd/Ctrl + J (or dragging the layer to the Create a new layer button at the bottom of the Layers Panel) and turn off the visibility of the first bird layer.
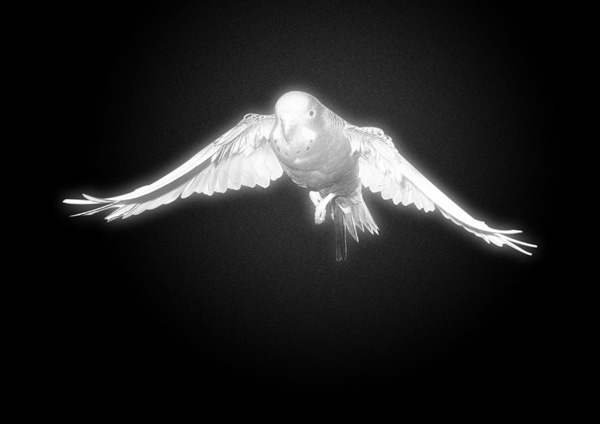
In the Layers Panel, click on the duplicated bird layer just to be sure that it is the active layer. Go to Image > Adjustments > Hue/Saturation (or press Cmd/Ctrl + U) to bring up the Hue/Saturation image adjustment window. All we are going to do is just slide the Saturation option all the way to the left to desaturate the layer.

Step 3: Boost the Contrast
Duplicate the black and white bird layer and then turn off the visibility so we can concentrate on the duplicate layer. Next, go to the Image > Adjustments > Brightness/Contrast.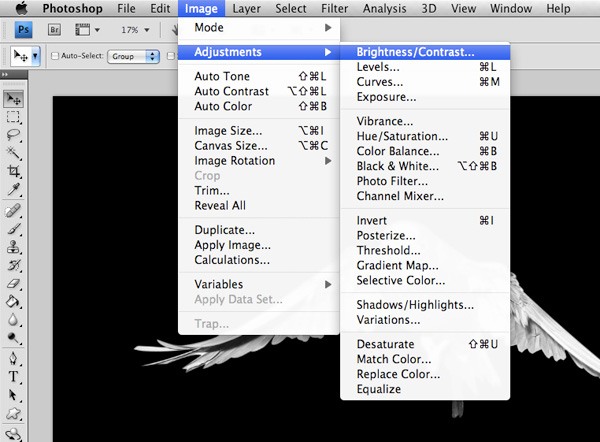
Set the options to match up with the settings shown below, and then press OK to apply the image adjustment.
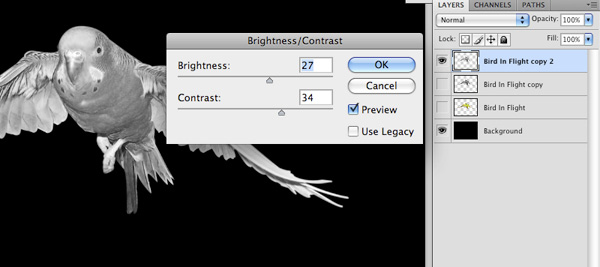
Next, change the blending mode of this layer to Overlay.
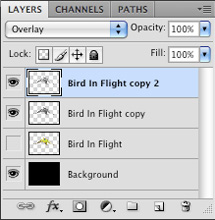
We will now merge this layer with the one below it by going to Layer > Merge Down (or pressing Cmd/Ctrl + E) — this should merge the top layer with the layer that we turned off earlier in this step.
Step 4: Blurring the Bird
Duplicate the layer we merged in the previous step, then apply Filter > Blur > Gaussian Blur (Radius at about 60px) to the duplicate layer.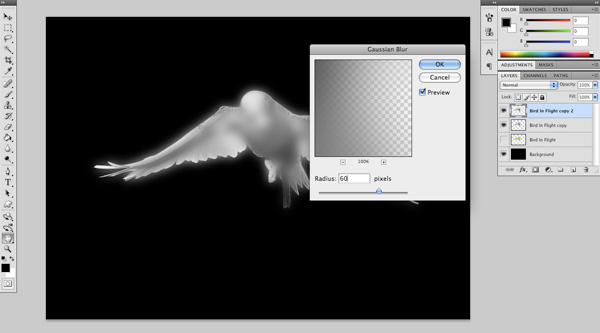
Change the blending mode of the blurred layer to Screen. The image below shows you the result of using the Screen blend mode versus Normal blend mode.

Step 5: Creating a Radial Gradient
Create a new layer just above the Background layer. Set your Foreground Color to white (#ffffff). Choose the Gradient Tool (G) and, in the Options Bar, pick the Radial Gradient option and use the Gradient Editor to set up the gradient to fade from white to transparent (you could use the Foreground to Transparent preset).
With our Gradient Tool good to go, we can click-hold-and-drag from the center of the bird and outwards to apply the radial gradient on the new layer. After this, we are just going to reduce the layer’s Opacity to around 20-25%. This should result in an interesting glow effect behind the bird.

Step 6: Texturize the Background Using the Noise Filter
Create a new layer above the gradient layer and then switch over to the Paint Bucket Tool (G). Choose a medium gray color — I am using #767676. Fill your new layer with this color and then go to the Filter > Noise > Add Noise.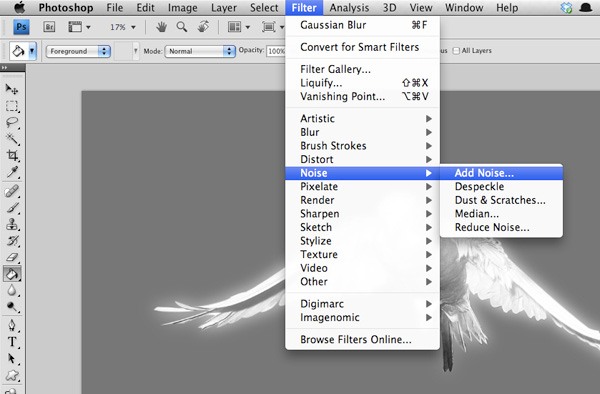
Use the Add Noise filter settings shown below:
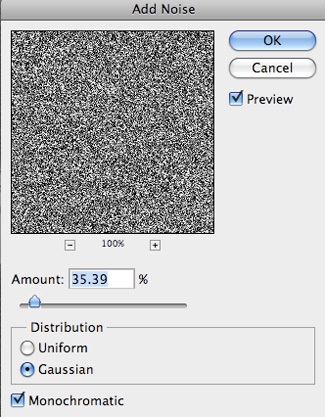
After applying the filter, change the blending mode of this layer to Soft Light. Because we are using the Soft Light blend mode, the noise will only seem apparent on the glow effect. You should now have something like this:
Step 7: Adding Smoke
First, locate and download some smoke brushes. There are plenty of smoke brushes out there for you to download and use (just be aware of their terms of use). Here are a few suggestions:- Smoke Brushes Set 1 by Falln-Brushes
- Smoke Brushes Set 2 by Falln-Brushes
- Smoke Brushes – Six by Jon Bee
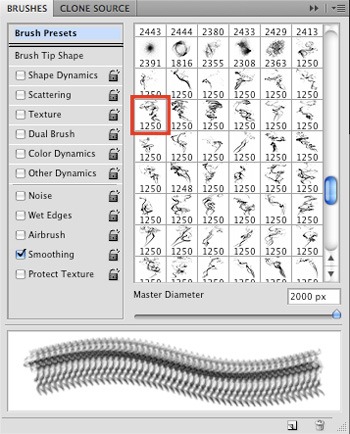
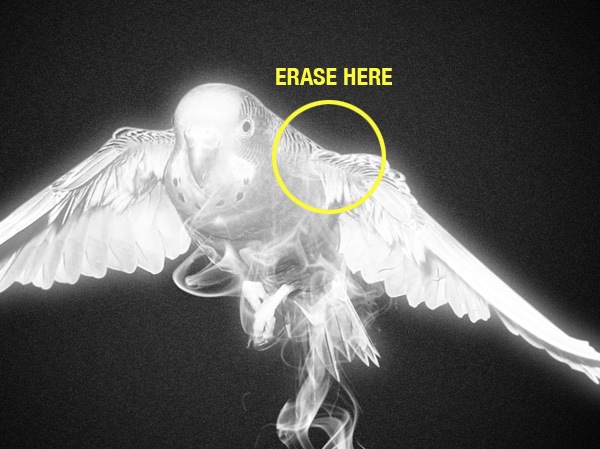
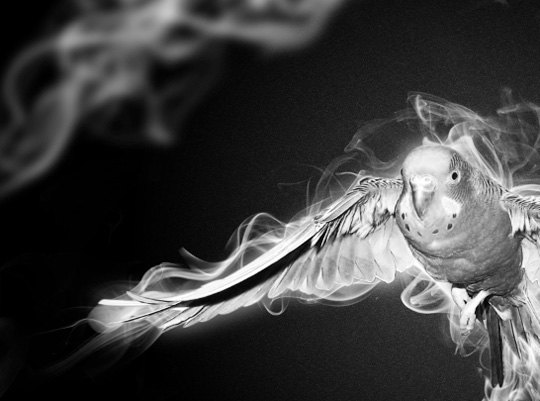
Press the right bracket key (]) a few times to increase the size of the brush to about 2000px, click once on the canvas to apply the smoke, and then use the Move Tool (V) to position it as shown below.
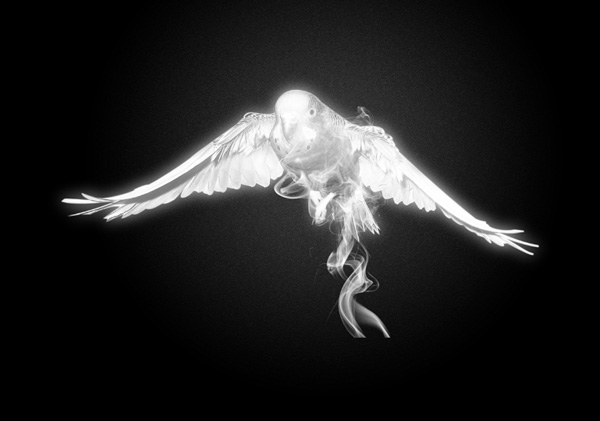
Use the Eraser Tool (E) with a soft, round brush tip to remove the area of the smoke brush that is above the bird.
Step 8: Adding More Smoke
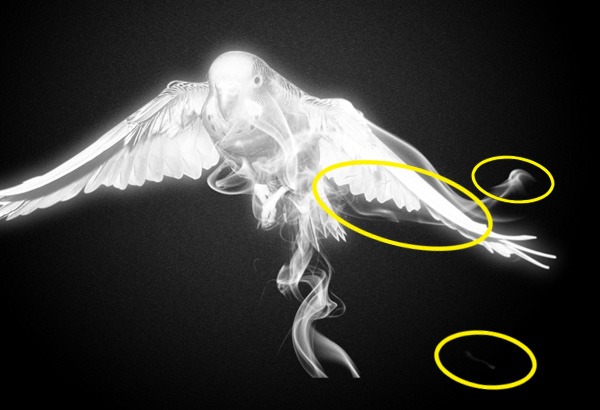
Create a new layer for more smoke. Choose another smoke brush and scale it up to about 2200px.
Click once on the canvas to apply the smoke brush, then press Cmd/Ctrl + T to activate the Free Transform command. Rotate the smoke so that it matches the positioning of the image below. Also, Use the Eraser Tool (E) to remove the smoke at the highlighted areas below.
Here is what our piece should look like by now:
Step 9: Create Smoke Around the Bird
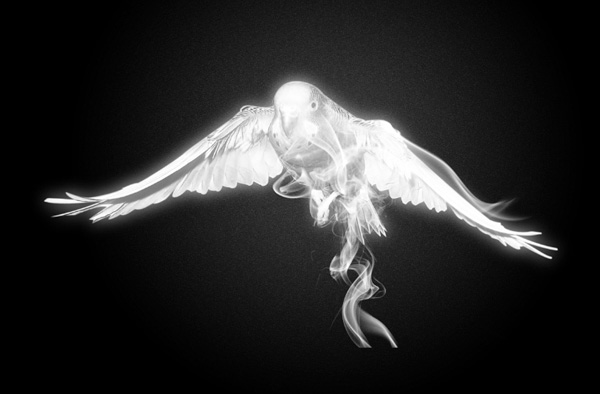
On a new layer, we are now going to use another smoke brush (set to about 2200px). After adding the smoke, rotate it and position it near the head of the bird.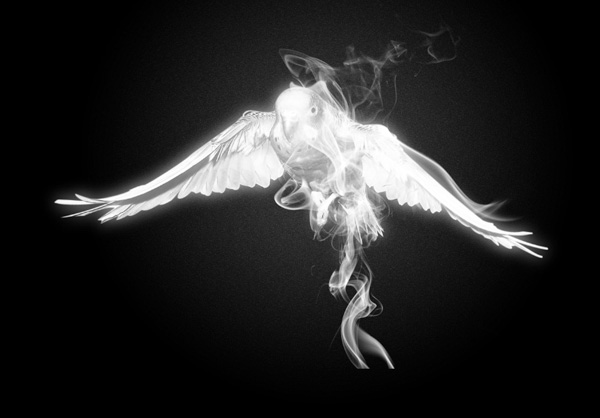
Moving along, I am going to repeat this process using another brush tip and placing it near the wing.
The main objective of what we’re doing in this step is to use a variety of smoke brushes and then flipping, rotating, transforming, and moving them into positions that seem to follow and exaggerate the shape of the form you want to create with the smoke.

Here is what I ended up with:
Step 10: Create Smoke Inside the Bird’s Body
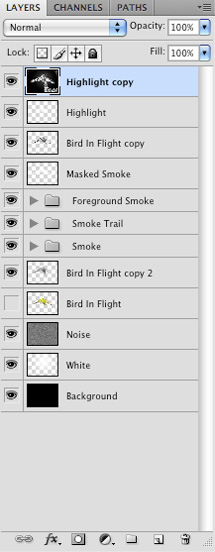
Before proceeding, select all of your smoke layers thus far, then either press Cmd/Ctrl + G or drag them to the Create a new group button at the bottom of the Layers Panel to put them into a layer group. Once you have done that, temporarily turn off the visibility of the layer group so we can focus on the new set of smoke effects.On a new layer, use an assortment of smoke brushes to paint over the bird — we don’t have to worry too much about being neat because we will be masking this soon. If you want to paint brushes on different layers, go for it.

Select all of your smoke brush layers (excluding the smoke brushes layer group) and press Cmd/Ctrl + E to merge them together. Hold Cmd/Ctrl and then click on the layer thumbnail of the black and white bird layer to load a selection around the bird.

Click on the merged smoke brushes layer just to make sure that it’s the active layer in the Layers Panel, then press Cmd/Ctrl + J, which will duplicate just the smoke inside of the bird, on a new layer.
You can now delete the merged smoke layer beneath the new layer. Then, turn on the visibility of the smoke layer group that we hid temporarily at the beginning of this step.

Step 11: Adding (Even) More Smoke
We are now going to add some additional smoke around the outer contours of the bird. We can add these new smoke layers inside of the existing smoke layer group containing our other smoke brush layers. The process is the same as earlier — use varying brushes and transform them into a position that complements the bird’s shape, then erase certain areas as needed.
Step 12: Bring the Bird Back
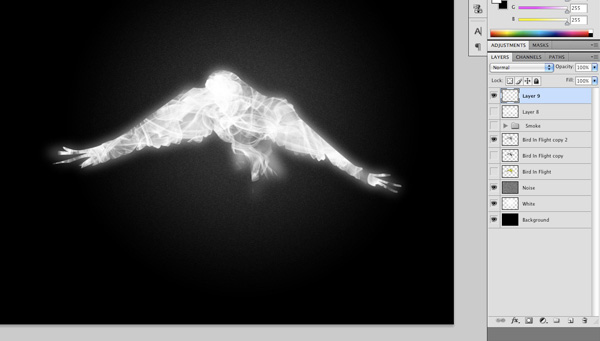
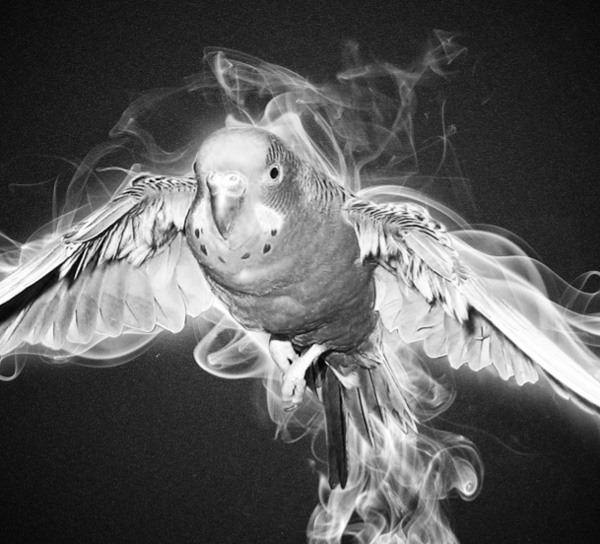
Remember the black and white bird layer we turned off earlier? Well, we are going to be bringing it back. Turn the visibility of the layer on, and drag the black and white bird layer to the very top of the Layers Panel.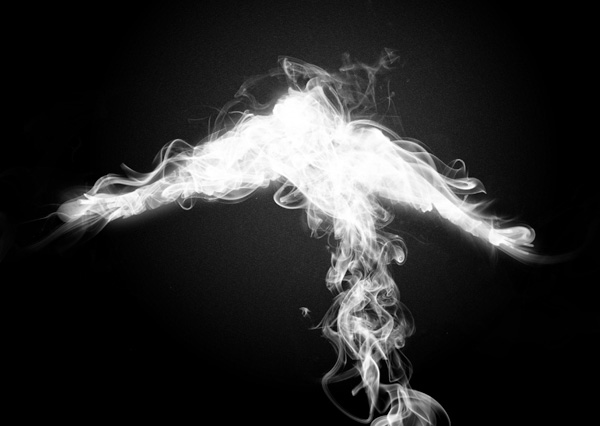
Now that we have reintroduced the bird back into the scene, the result is looking pretty good in my opinion.
Step 13: Add Some Light
Create a new layer at the top of the Layers Panel. Switch to the Gradient Tool (G) and check to make sure that you still have the Radial Gradient option selected and that the gradient is still set to go from white to transparent; we used this tool earlier in Step 5, so it should already be set up for you. What we want to do here is just click and drag outwards to create a small- to medium-sized radial gradient.Afterwards, change the blending mode of this layer to Overlay and reduce the layer’s Opacity to 50%. Then use the Move Tool (V) to position the radial gradient over the breast of the bird.
The image below shows our work without adjusting the layer’s blend mode:
The image below shows our work with the Overlay/50%-opacity blend mode:
Step 14: Adding Dynamic Foreground Smoke
Create a new layer, make sure your Foreground Color is still set to white, switch to the Brush Tool (B), select a new smoke brush, and change the brush size to about 2200px.Click on the canvas once to apply the smoke brush, use the Move Tool (V) to position the smoke at the upper-left corner, and then use the Free Transform command to angle it slightly.
Make sure Free Transform mode is still active, hold down Cmd/Ctrl and then, on the canvas, right-click inside the smoke, which should display a contextual menu.
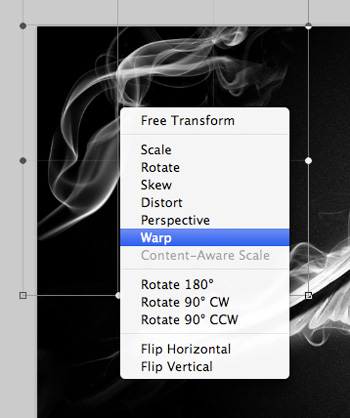
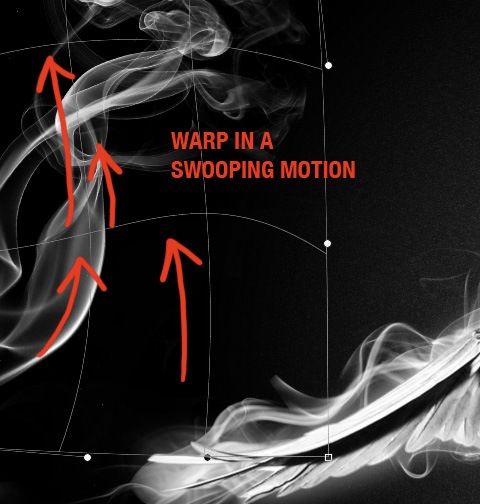
In the contextual menu, choose Warp, and then modify the smoke to make it appear as if it’s creating a dynamic, swooping motion (as shown below).
Next, go to Filter > Blur > Gaussian Blur and apply a blur with a Radius of 30.9px.

Step 15: Adding More Foreground Smoke
Create a new layer and select another smoke brush using a Master Diameter of 2200px. Click on the canvas to apply the smoke brush on the new layer, and move it to the upper-left corner, aligning it so it almost matches up with the smoke we applied in the previous step.
Like before, transform and warp the smoke slightly, and then soften it up with the Gaussian Blur filter using the same settings. A quick way of reusing the previous filter with the same setting is to press Cmd/Ctrl + F.
Step 16: Add Swooping Smoke
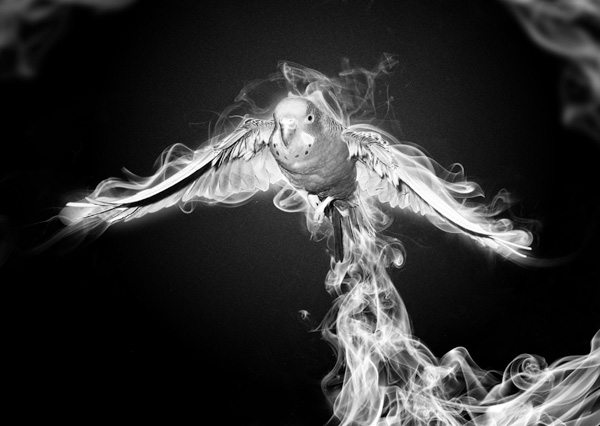
Using the same techniques, continue to use different brushes and transform them in order to make a trail of smoke that flows down into the right corner of the canvas. Working this into our design will help to push the depth even further, and it will also add some more movement and dynamism to the scene.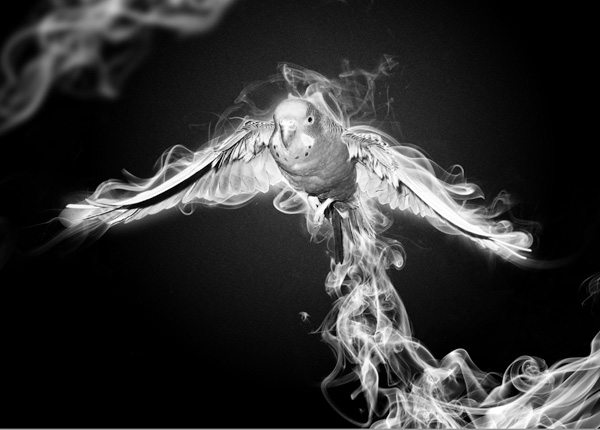
After experimenting with a few brushes, you may begin to create some interesting shapes with the smoke. Remember, you can always cut or erase parts that you don’t want, or copy them in new layers and use them in a different area.

Step 17: Modify the Placement and Arrangement of Smoke
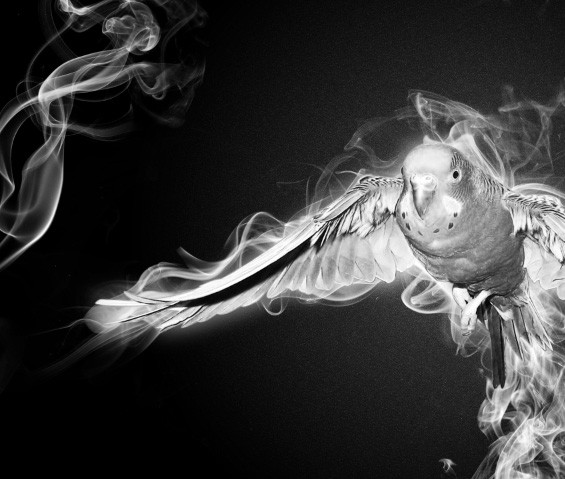
Next, we are going to take the blurred smoke that we made in the upper-left corner and just move it off the canvas a bit more so it doesn’t dominate and take away from the subject (the bird) too much. After that, copy the foreground smoke and flip it horizontally (Edit > Transform > Flip Horizontal) so that you can position some of the smoke in the opposite corner.Play around with the positioning and, when you are satisfied with the result, lower the Opacity of the smoke at the upper-right to about 60%.
This will make it feel like the bird has flown around in a circular motion before coming towards the viewer, but at the same time, we don’t want it to be too distracting because the focal point should be directed to the center of the scene.
Step 18: Duplicate And Merge
Select all the layers in the Layers Panel. Next, drag all of the layers down to the Create a new layer button at the bottom to duplicate all the layers.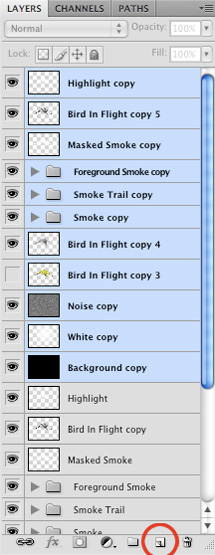
While all of the duplicated layers are still selected, press Cmd/Ctrl + E to merge them into one layer. You should now have a flattened copy of the image at the top of the Layers Panel, above all of the original layers.
Step 19: Creating Shattered Shards of Smoke
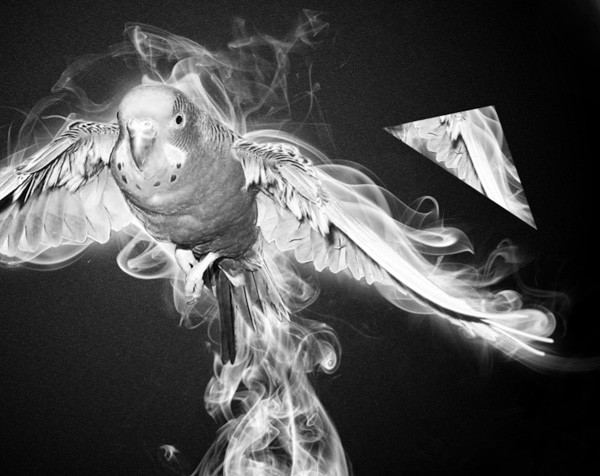
On the flattened layer, use the Pen Tool (P) to create a path in the shape of a triangle near the wing. Next, right-click inside the triangular path and choose Make Selection from the contextual menu that appears.
You will then be prompted by the Make Selection dialog window; just press OK to accept the default options.
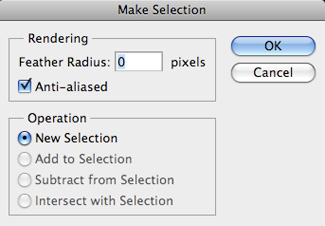
You should now have a selection around the triangle — press Cmd/Ctrl + J to duplicate this selection onto a new layer. After doing this, you can turn off the visibility of the flattened layer, reduce the size of the triangle using the Free Transform command, and move your triangle slightly off to the side using the Move Tool (V).
We are going to repeat this process to create a few more shapes so we will need to toggle the visibility of the flattened layer on and off so that we can make our selections, then position them without distraction.
Rotate, flip, transform, and play with the opacity of the triangles to create variations. A way of enhancing depth is to use a soft, round eraser at a low opacity and erasing some of the shapes a bit so that they appear to be receding into the background.
Step 20: Finishing Up
Before we finish up, I am going to do some housekeeping and organize the layers by placing them into layer groups — this is good practice and helps keep things in order for whenever we need to revisit this Photoshop document later on.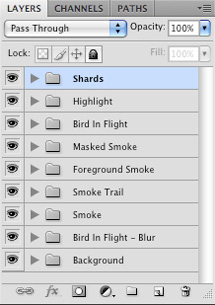
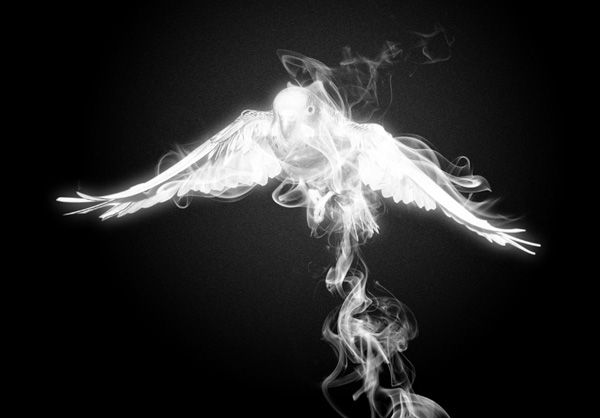
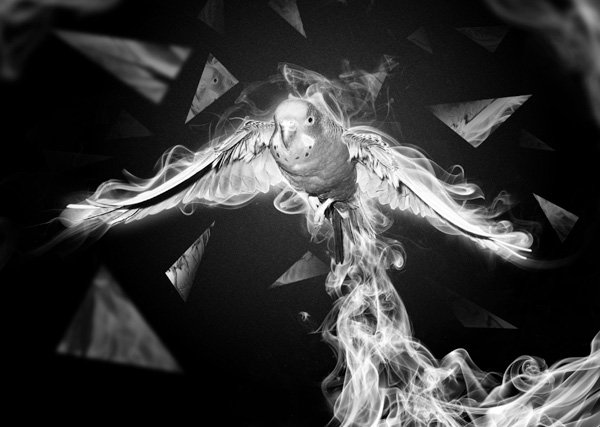
Once that is done, you can save your work and take another look at what we have just created:

Tutorial Summary
This Photoshop tutorial showed you how to create an interesting monochromatic scene with a smoking bird as the subject. We applied smoke effects, played with blend modes, created simple light and glow effects using the Gradient Tool, used Photoshop filters, and created shattered shard elements from scratch to make our work even more intriguing.Thanks for following along with me and I hope you have learned some useful techniques. Happy Photoshopping!
No comments:
Post a Comment